Wednesday, July 30, 2014

Hell Kitchen: Part Two


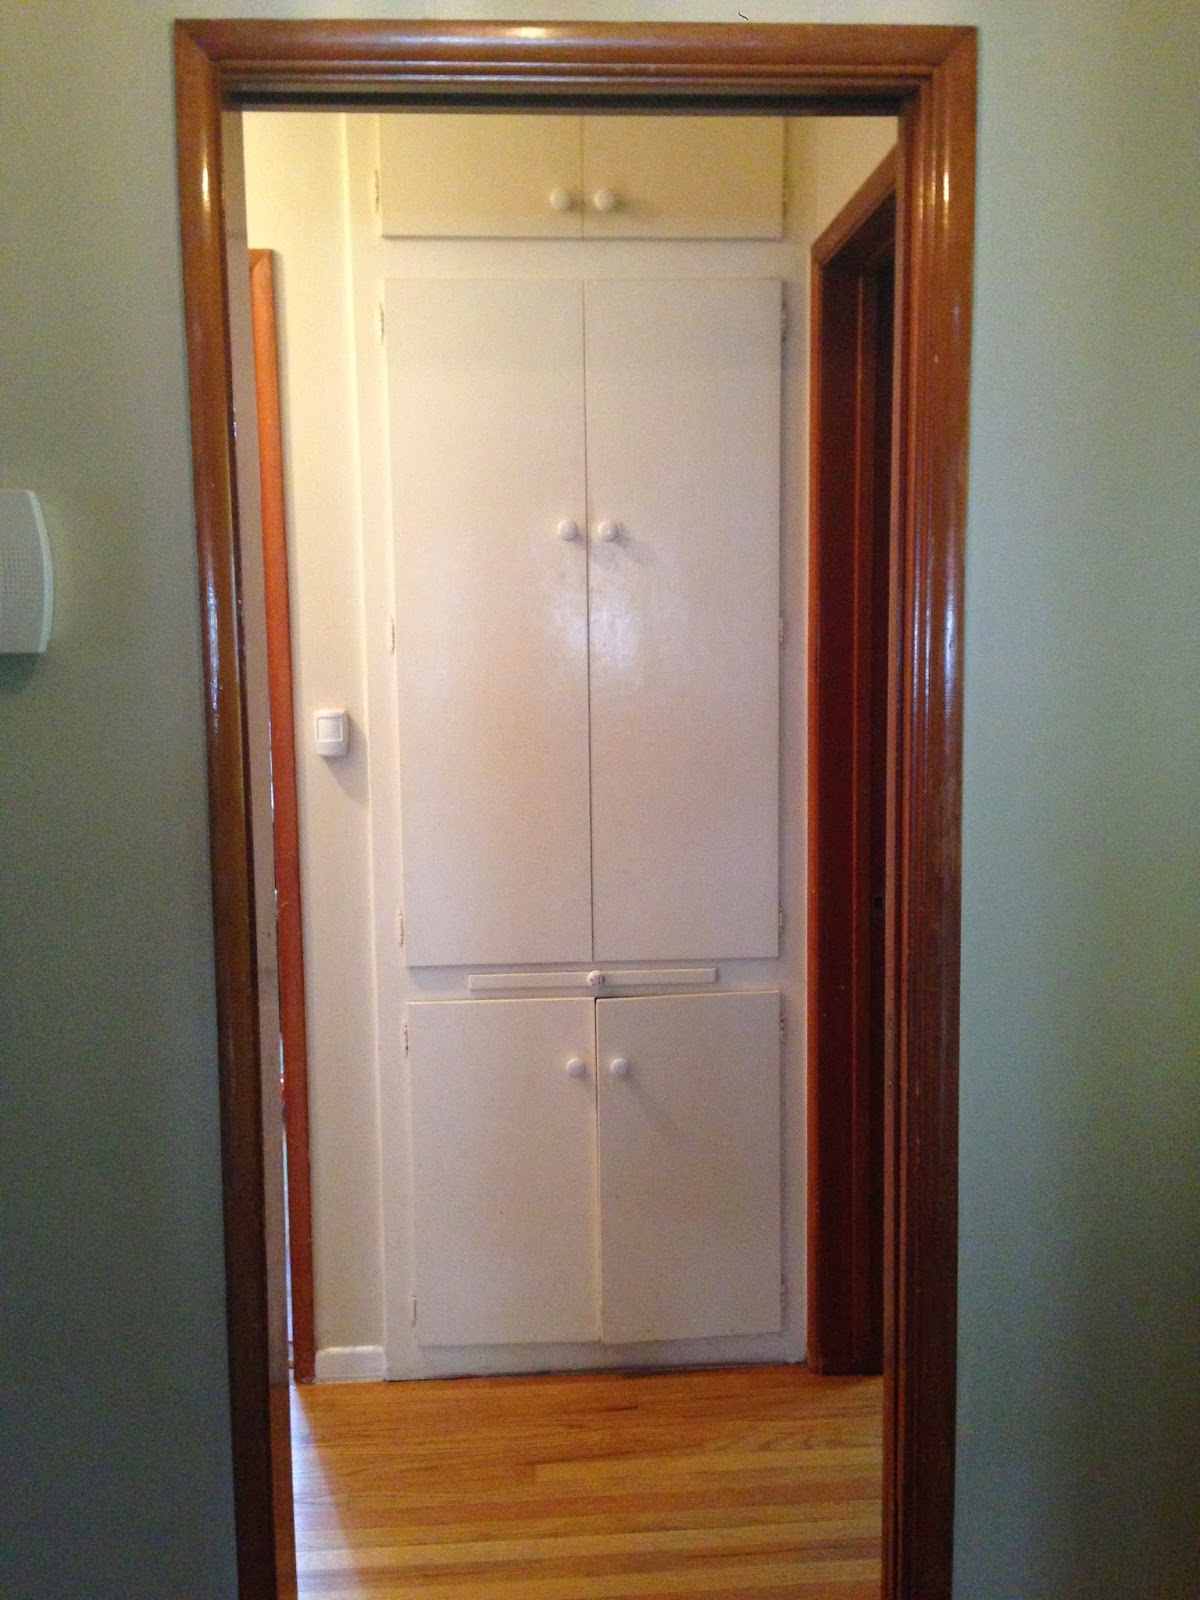
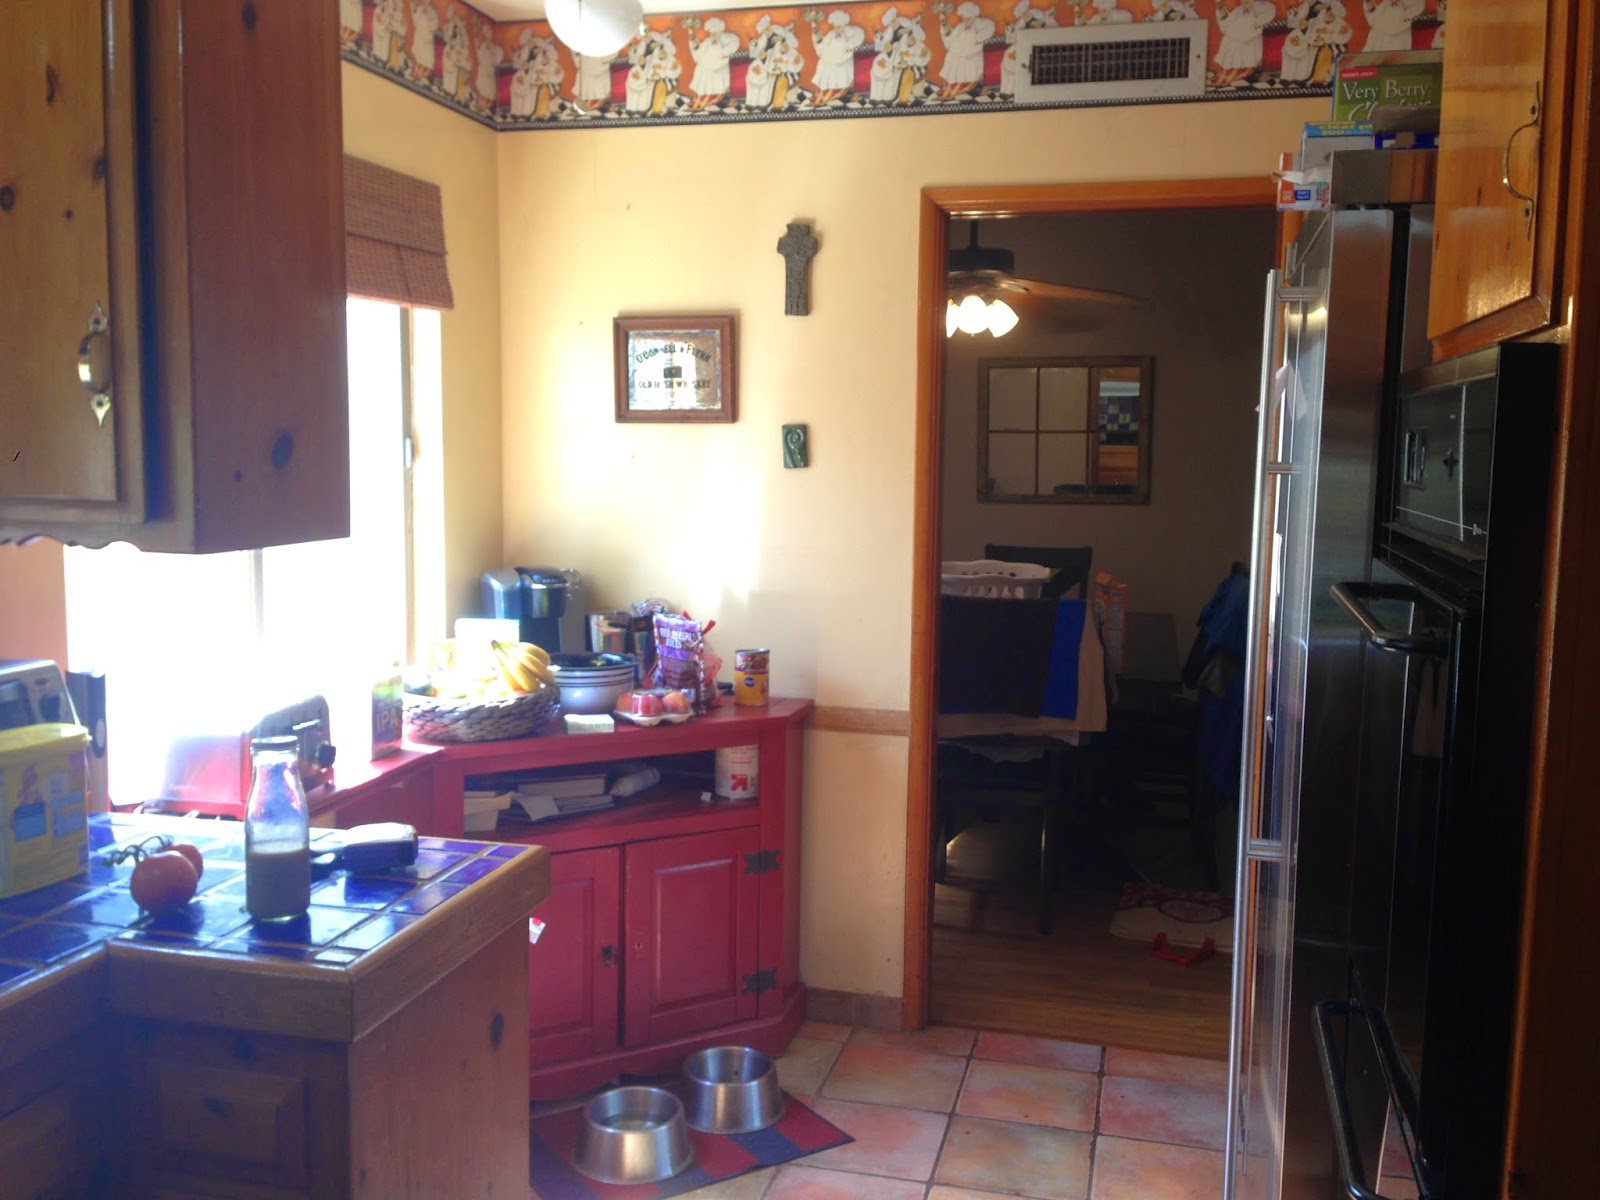
So the chefs may have been gone, but there was still plenty of prep work to do in this corner of the kitchen. Let's turn our attention to the red cabinet. 


During escrow, our home's previous owner tried to sell me every piece of furniture she owned even though I kept insisting modern Southwest wasn't really my thing. When we arrived at this cabinet, instead of offering it for a fair price, she offered to have her husband remove it altogether. Built from scrap wood and a re-purposed corner entertainment console, I guess it was only ever meant as a temporary fix for holding the extra crap that tends to accumulate in a kitchen.

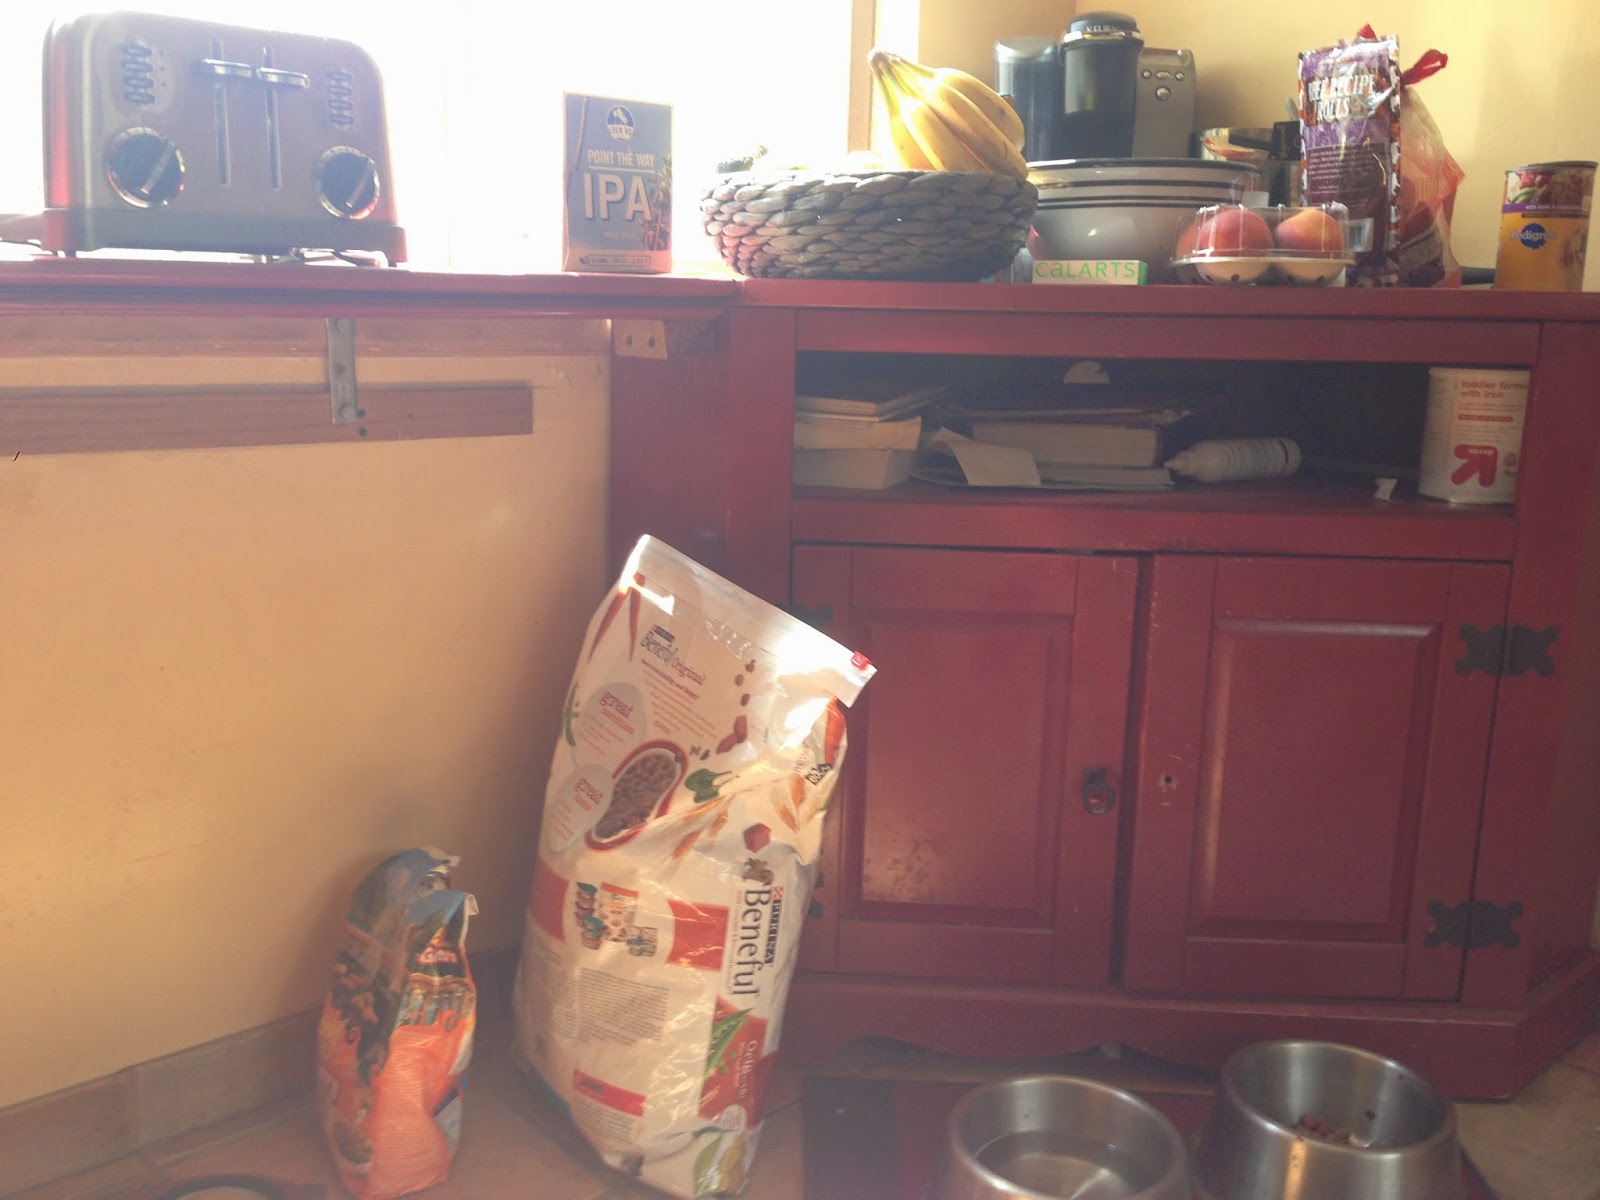
I didn't love it either, but I also knew better than to part ways with a storage option, so it stayed. And as you can see, it became the home of our pet food, fruit, the busted Keurig, cook books, dog ear medicine, and the extra toaster.

For the purposes of painting, though, it was going to need to get out of the way. This meant unscrewing it from the wall. And that meant I finally learned what a socket wrench is.

A positive side effect of home improvement projects is learning the tools that belong to names you've heard thrown around your whole life. Now I know what a socket wrench actually looks like, what it's used for, and that we didn't own one and had to pick one up at the store while we grabbed our wallpaper removing supplies.

With the cabinet out of the way, I enjoyed my new found open space. Dirty, paint splattered open space.


This will one day be the ideal spot for a breakfast nook. Something with custom built benches. That day is not today.

In order to clear the cabinet I first had to rid it of its contents. Once I'd thrown away the excess and found new homes for the good stuff, it wasn't lost on me that I'd essentially proven the cabinet to be useless.  Should I just get rid of it?

As a compromise I elected not to reinstall the shelf, but to keep the cabinet because, for now, at least it filled the empty space. And I needed a place to keep pet supplies and the rotting oranges I will inevitably possess in the near future because I never learn we are incapable of finishing a bag of oranges.

The cabinet appeared to be unfinished wood that was spray painted red.
Red matches zero furnishings in my home, so this would need to change.

Luckily, I am always looking for a good reason to spray paint something, and I was thrilled that this was such a substantial target. So it went from apple red to mocha brown. And this sucker took nearly two full cans of paint to cover. And they were double coat cans so that's like four coats, if I did the math right.

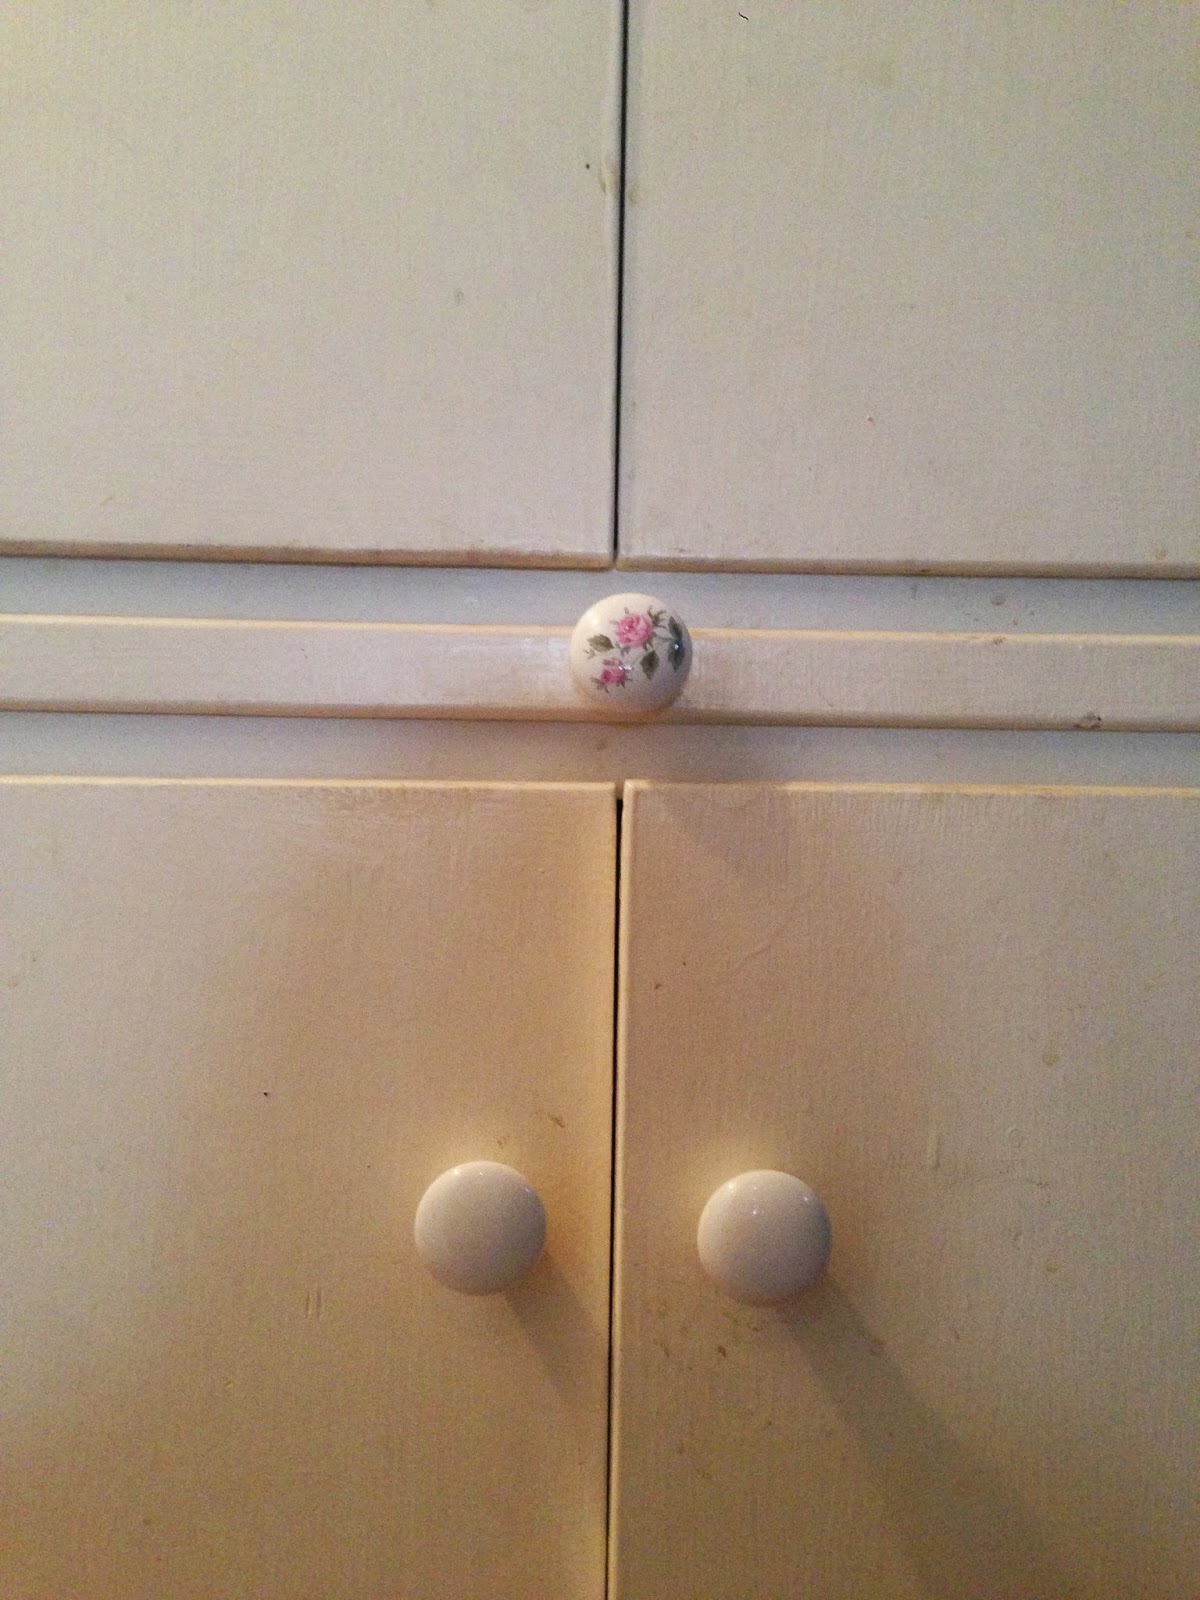
Now I had a new and improved cabinet I wasn't entirely sure I wanted. Perfect!


But back to the kitchen. There was still more work to be done before I could actually shlap on a fresh coat of paint.

And here's where it gets embarrassing. My kitchen was disgusting.


That's not even the worst example of the grease and dust built up everywhere. But it's the worst example I am willing to show you. While I swear to you that I frequently scrub down all cooking surfaces and counters, I think no one had cleaned the walls possibly ever. It may have been even grottier than a truck stop diner that only narrowly passed health inspection thanks to a certain flirtatious waitress. But I didn't have a flirtatious waitress; all I had was a bucket of soapy water and some rags.

Cleaning off the walls was easy and immensely gratifying. But then came the ceiling. Its ornate pattern of dark grease swirls indicated that someone may have tried to clean it at some point using one paper towel and splash of tap water.  Clearly I'd need a different approach. Preferably one that didn't involve back bends at the top of a step ladder while dripping dirty water in my face.

This is when I remembered a conversation I had with my cleaning lady, Maria. One morning as I scurried around getting ready for work she asked me where I kept my Swiffer Sweeper. All of the others homes she serviced had one and they were her preferred device for cleaning floors. I confessed that I did not have one, though I didn't consider it an oversight as much as a hateful, intentional choice.

I'd previously purchased a Sweeper quite quickly after seeing a commercial that convinced me someone had finally improved upon the broom. Of course in this day and age there had to be a better way! Hooray for modern technology. Hooray for American ingenuity.

I'm not sure what was the more shameful judgement call on my part: blindly believing what advertisers told me, or thinking that shoving a tissue around the hardwoods would magically eradicate the human/pet hair tumbleweeds. Turns out (surprise, surprise) Sweepers don't stand a chance against the chaos that builds up on my floors during the average five minute time span.

(BTW I take no issue with the Swiffer Wet Jet. That's my jam.)

So I'd long ago gotten rid of the sweeper. But I went out and bought a new one for Maria because she didn't use it for its original purpose. Rather, she liked to attach wet rags and swap them out as needed to better scrub the floors.

And THAT, my dear readers, is the solution for cleaning a ceiling. A bucket of soapy water, a lot of rags, and the Sweeper. No back bends or step ladders necessary.


Monday, July 28, 2014

Hell Kitchen: Part One

Welcome to my humble kitchen.
It's nothing fabulous, but at least it's functional. Sometimes. The oven currently doesn't work. There was a three month dishwasher repair saga. The freezer isn't wide enough to store a frozen pizza.

At some point, I'd of course like to redo the kitchen and turn it into my dream kitchen, which is a vision I have yet to even conjure because it seems so far fetched. The kitchen remodel is on the 5-10 year to-do list, right up there with replacing the fence, converting the garage into an apartment, and achieving world peace.

This, by the way, leads me to ask myself, if we ever have the means to fix everything we wanted to fix in the house... wouldn't that suggest we have the means to get a newer, better house? So wouldn't we just say fuck it and move out?

But back to the matter at hand. What can I do to fix the kitchen for now? The short term solve: new paint.
Oddly, of all the painting I've done over the years, I've never actually had to paint a kitchen. There have been times I wanted to, but it always struck me as the worst room to paint. So many tiny hard to reach spaces, so much to cover with drop cloths and blue tape. Boy was I right. It's the worst! But I'm getting ahead of myself.

To begin at the beginning, let's talk about chefs, baby.
These are my wallpaper border chefs. They came with the house. They are fat and stupid and have stuck around for too long. I realize that's a really great set up to a joke. Probably politically motivated. But I don't have time to go there right now because I have work to do. 
I'd never worked with wallpaper before, mostly because I'd never had to. But also, it scared me. I'd never heard anyone relate a positive experience with wallpaper. When I finally I got up the courage and the energy to deal with mine, I had to stock up on some new devices, like a wallpaper scorer. 
Its little underbelly contains two rotating pokey blades. The idea is to rub it all over the wallpaper in circular motions, suffer the god awful squeaking sound it makes, and then apply wallpaper removing solution. The solution will seep into the little holes the scorer made and help the paper scrape off better.
So yeah that's the idea. In practice, the result was this:
The top layer (I didn't really think there were layers but it turned into that somehow) all but threw itself off the wall. But the bottom, the adhesive, the part that really mattered, hung on tightly.

I gave it another round of spray, waited twenty minutes, and then magic.


Isn't that the most satisfying piece of video you've seen in ages?
Goodbye, chefs. It's been real.

Monday, July 14, 2014

Mini Projects: Refreshing The Linen Closet

While massive undertakings in home renovation are always massively satisfying, there's also something to be said for the joy of tackling the little things. Case in point: the hallway linen closet.


Okay, I know it looks harmless enough from a distance, but up close this sucker suffers from the same gross old cabinet disease as every cabinet in every place I've ever lived. The yellowing, way-too-glossy paint. The years of gray globby build-up around the handles. The dreadful contact paper lining the shelves. And, most disturbingly, the distinct yet untraceable smell of old-ness. It's just not the sort of environment that screams, "I'm a great place for storing your pillow cases, toilet paper, freshly-laundered towels and other items bound for close contact with your person!"

Let's go in for a closer look.

Yellowing, way-too-glossy paint?

Check.

Gray globby build-up around the handles?
Check. And while we're on the topic of handles... bleck. I know, I always replace handles in every single project. It's sort of my go-to fix. But these ones were really asking for it.

Anyway, on with the tour. Dreadful contact paper lining the shelves?

Check. Layer after stinking layer. Actually, if it weren't so filthy that bottom layer could almost pass for fun and retro.

With every project I start, it's only once I get up close that I really understand the level of neglect. Like, that the paint on the bottom never actually made it all the way to the floor.


And that inside, there was only ever one layer of paint and so the knots in the wood showed through and looked, at first, like gross stains.

I tasked myself with this mini project over 4th of July weekend. Coincidentally, the weekend marked the first anniversary of living in our house, so it seemed only fitting to celebrate with some DIY.

I've dubbed this a "mini" project because the scope of it is small. It probably could've taken about 3 hours. In actuality, it spread out over a full week. This is because during the weekend of its inception I had more social engagements than I normally have in a month. So I had to complete the work in small chunks. Then, it spilled over into the work week, which is bad timing for any project, but this work week was a particularly brutal one. Then, the following weekend I got sidetracked with another project (details to come!). And I finally wrapped it all up by Sunday afternoon.

So I guess my point is that I could've just told you I did this in 3 hours.

The other reason this project felt mini is because there wasn't much to do in the way of prep work. I already had all of the supplies, even the paint! Remember all those gross miscalculations during the fireplace project? I had more than a half gallon of Snowfall White just burning a hole in my work bench. All I needed was some new cabinet hardware so I picked up a value pack of 10 brushed nickel knobs at the store.

Beyond that, I didn't do any hard labor getting ready to repaint.

First, I removed the ceramic knobs. I paused for a moment before tossing them in the trash, wondering if there was any chance they were antique and of value. Particularly the one with the rose design. Then I thought, nah forget it. Yo homes, to Bel Air!


Then I went over the surface with a Magic Eraser to get rid of the grime. [By the way, Magic Eraser, if you're reading this and looking for a blog to sponsor, I promise you'll get your money's worth with mine.]

Finally, I set about removing the contact paper. The top layer gave up really easily. The bottom held on for dear life and, in full disclosure, I gave up in a few places and just covered with new paper.

But look, you can't tell!
I'm not entirely sure what possessed me to alternate patterns other than I had two different rolls of paper sitting around so I figured I may as well. Perhaps I hoped the variety would help take the edge off. I'm not sure if I've told you how much I hate laying down contact paper, but it's really terrible. And it never seems to matter how much time I take with it, or what techniques I try, because it always winds up looking like it was handled by someone who doesn't have full control of her faculties.

Fortunately, you can't tell from a distance. And you really can't tell once the paper is covered up with all the crap that's going back on the shelves afterward.
The second most challenging part of the project was painting the insides of the cabinets, just because I had to lean in at odd angles and my pregnant belly got in the way.

And then of course painting the face of the cabinets was a breeze. And now look, it's crisp, and clean and flat and it smells like paint and not old-ness.


So that's it. The before and after isn't particularly dramatic.
Up close, you can better see the improvement.
But I swear, in person it makes all the difference in the world. I've actually paused to admire it a few times while passing by.

Wednesday, July 2, 2014

More Gardening Updates

Mary Mary quite contrary, how does your garden grow?

Like this, bitchezzz!

It's so full! With real plants that are really growing. And I'm not doing all that much to make it happen. My inexplicable gardening good fortune has returned!

To refresh your memory, this is where we were at the last update.


Nothing but a few seedlings. I didn't have high hopes. But what a difference two months makes!

The two flimsy tomato plants are nice and sturdy with green tomatoes and I'm overly checking on, eager anticipating their ripening. Oscar likes to help me with the garden check ups and always reports "Not red yet!"


Meanwhile, my crop of jalapeƱos is looking ready to pick, but I wanted to use with along with my tomatoes for fresh salsa. So, timing fail. I did throw one in some fajitas the other night so I'm getting use out of them.


Then, there are the miraculous cucumbers. I planted the seeds following the instructions on the seed packet: build up dirt mounds and toss seeds on top. For a couple of days, every time I'd check on them it just looked like some jackass had thrown seeds on top of dirt mounds. I gave up. Then Oscar knocked one of the mounds down with his shovel. Then I really gave up. Then Seamus stepped on another one and I ordered everyone to go inside and immediately forgot the seeds ever existed.

Weeks went by and suddenly... cucumber seedlings! 3 of them! Well, to be honest there was a fourth but when I tried to move it out of the shadow of the squash plant it didn't survive the trip. My bad.


The little plants aren't exactly thriving, but they are still standing so I'm counting them as a win.

But if you want to talk about thriving, let's discuss my spaghetti squash.


Oh wait, just kidding, that picture was taken a month ago when I was going to write an update and say, "Oh man, look how big this plant is!"  But now, get a load of this jerk now!

I've had to trim back the sprawling arms twice already to keep it from taking over my whole yard and/or busting in through my bedroom window.


I have to say, though, that as impressive as this plant is in size, it's not exactly yielding a great bounty of squash. I had two good ones going, then one afternoon I was surprised to find one of the two fruits sitting on the kitchen counter. I picked it up and brought it into the living room to ask Devin what it was doing off the plant and he said our neighbor told him it was ready to pick. Small, green and soft, it was clearly not even close to being ready. Half my harvest wiped out just like that! From now on he is forbidden from taking gardening tips from our neighbor, though he's still welcome to accept his offer for ice cold cans of Coors at 10:30 am.

I didn't fret for too long over this tragedy, figuring there'd still be more squash than I knew what to do with (actually, I'm not even sure what to do with one; I don't really like squash). However, since then only two new fruits have formed, and I managed to kill one of them when I lifted it off the ground to take a closer look. Heavy handed gardening strikes again!

Finally, I've got a little something something going on the side. This is my pumpkin patch! Hopefully I've timed it out right so I have pumpkins in time for Halloween... or else you're all getting pumpkin pies for Labor Day.

My mom helped me plant the seeds during her recent visit. We planted extras, thinking only a few would survive. But I forgot to take her green-thumbedness into account and now I think every single seed has sprouted. I know I need to thin this out soon, before they all start sprawling out like their squash cousins and eventually eat the cat, but it's so heartbreaking to rip them out of the ground so I can't bring myself to do it. Instead I'm hoping some of them spontaneously die.

Now that my confidence has returned, what should I plant next?