Wednesday, February 24, 2016

The Very Last Kitchen Makeover: Done!

Well that was a whole thing.

If you're just joining us and wondering how we got from Before to After, consult the previous posts.

Part 1
Part 2
Part 3
Part 4
Part 5

Now that we're on the same page, take a look at the finished product.


It bugs me that I wasn't able to figure out and execute a solution for those painted flower tiles. I know I'll still think of something, but I was stalling on the reveal pictures until that was done. And after a while I just needed closure. So here we are.

If I were to start over, I would do a couple of things differently. I'd spend more time beforehand getting the insides of the cabinets prepped-- ripping out shelf liner and cleaning things up. Doing this bit by bit in advance would've prevented interruption from the workflow later on. I also would've picked knobs, rather than handles, for the new hardware. There are just as many good options for that shape, and it would've meant drilling only 1 hole, and avoiding the many many mixups of incorrectly measuring or drilling two holes.

In conclusion, it's A LOT OF WORK. If you're setting forth to refinish your kitchen cabinets, people like me will tell you it's a lot of work, and you will prepare yourself for a lot of work, and then the actual amount of work will be triple the amount of work you ever thought possible. And it will be worth it.


Tuesday, January 12, 2016

The Very Last Kitchen Makeover - Part 5: Finishing Touches

Contemporary paint color would only take us so far in modernizing my old ass kitchen. Sleek cabinet hardware would have to seal the deal. After shopping around, I selected the Vinna pulls from Ikea.

Vinna is dah winna!

I did think it was a little strange that they were made up of 3 separate pieces, the bar and the two square pieces. But there was no way that was going to cause unnecessary extra steps and stress, right?

What's that? You're picking up on my sarcasm? Yeah you're right these handles were super annoying and I wouldn't recommend them. But I can only partly blame the Swedes. A large part of the blame falls on me for ever trying. And the rest, the biggest chunk of blame, falls on the carpenter (may he rest in peace?) who built these irregular cabinets with weirdly puffy faces.

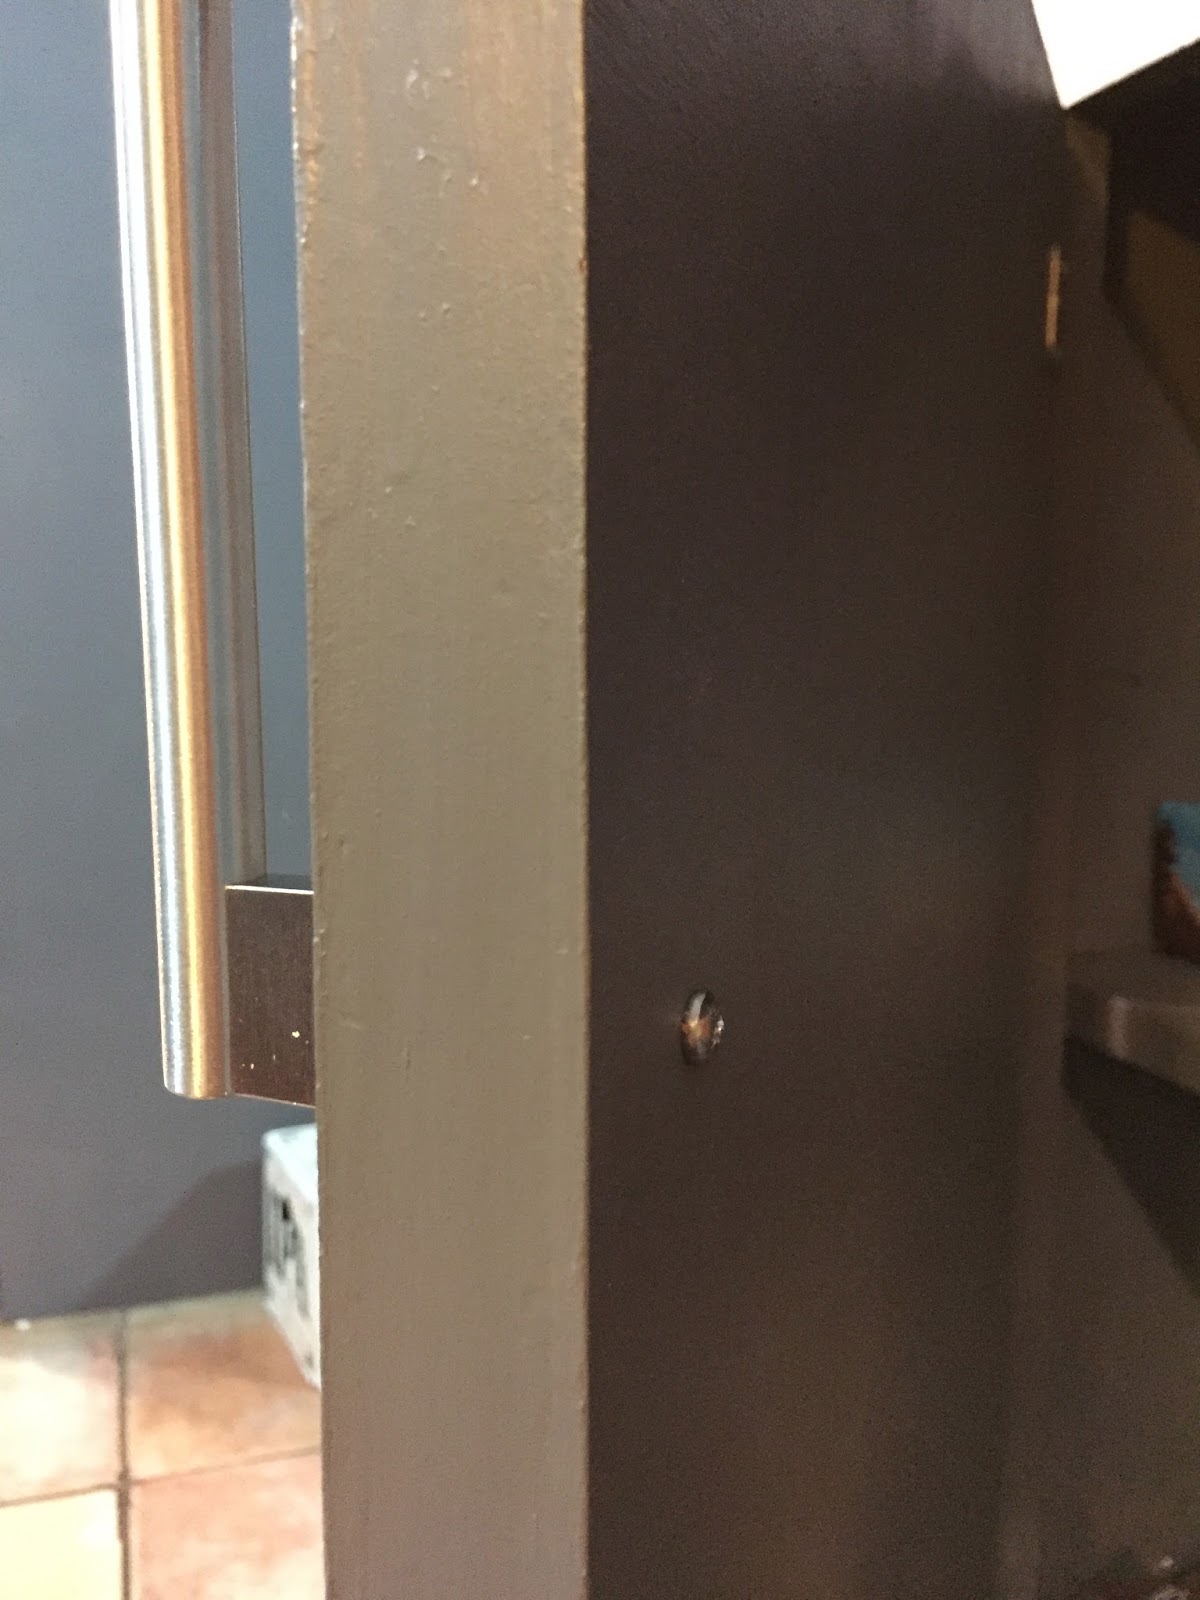
The screws that came with the handle were too short to attach the bar. They would probably fit nicely through the width of any normal cabinet door. But not these gems. They left barely enough room to screw on the bar.

So I went out to the store to buy longer screws. The next size up, from 2 inches, was 2 1/2. Surely that would do the trick.  I bought a box, tried them out and wouldn't ya know it, these ones were too long.

Back at the store, I picked up washers to fill the gap. It took 6 to make it work, and it looks pretty stupid, but at least it's on the inside. And we're all a little bit stupid on the inside.


After getting though about half the cabinets this way, I ran out of supplies and turned to the all powerful internet to take another stab at finding the best length machine screw. Like a DIY Goldilocks I was able to finally find one that was just right -- 2 1/4 inch -- by special ordering it from an industrial supply source. Who could've predicted the lengths I'd go to for the right length screw?


It was worth it, though, and they fit perfectly. I should probably go back and replace all of the screws on all of the handles, but I'm not sure I should tempt fate because it was a miracle some of them ever stayed on in the first place. Measuring and drilling two holes seemed easy enough, but no matter how meticulously I went about it, I'd still find myself with holes that were too close together or far apart. Finally I got smart about it and made a drilling guide. Read on for actual useful information:

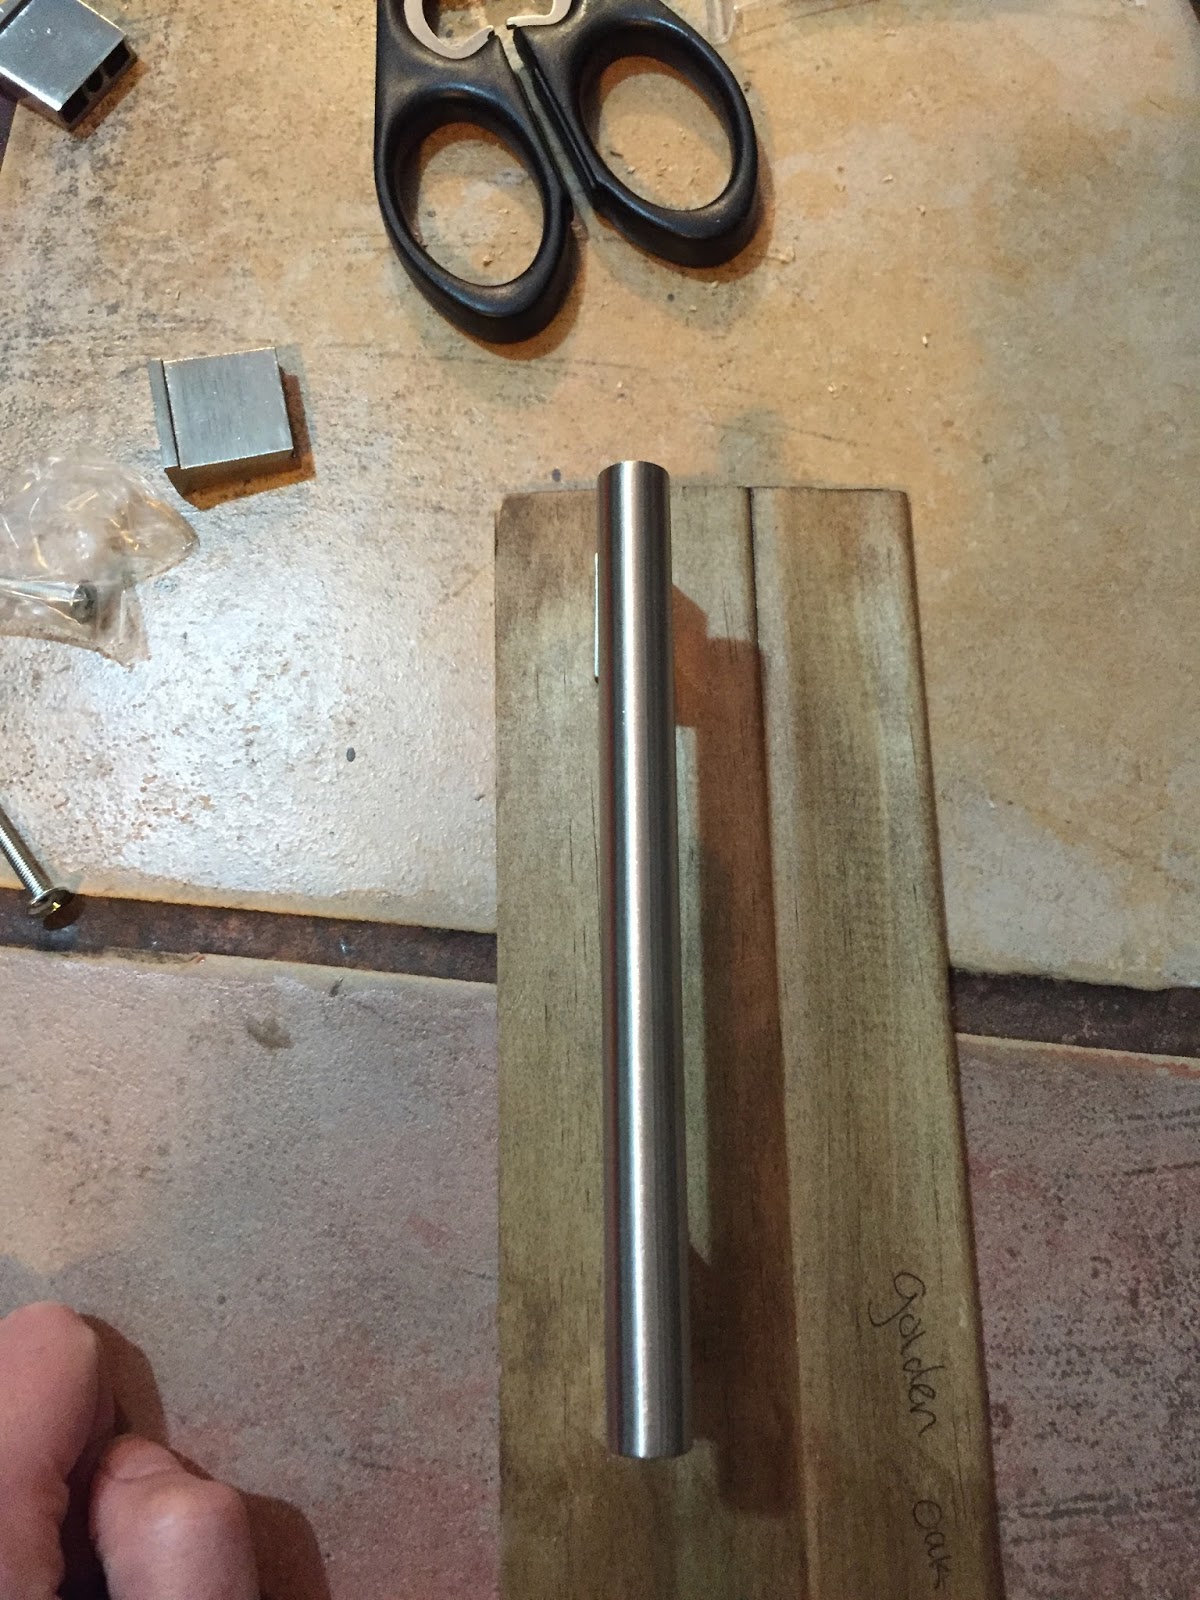
I used a scrap piece of wood and carefully measured and drilled where the holes needed to be for the handle.

Then, to double check, I lined it up and screwed on the handle. It fit perfectly.


Then, I decided how far up on the doors I wanted the handles to be, and on the reverse side of my board, I drilled in a screw to use as a stopper.


So when the guide is lined up on the face of the door, the stopper catches on the edge of that beveled detail and holds the board in place, for the most part, while drilling into the guide holes. 


It definitely reduced the amount of time I spent making and fixing mistakes.

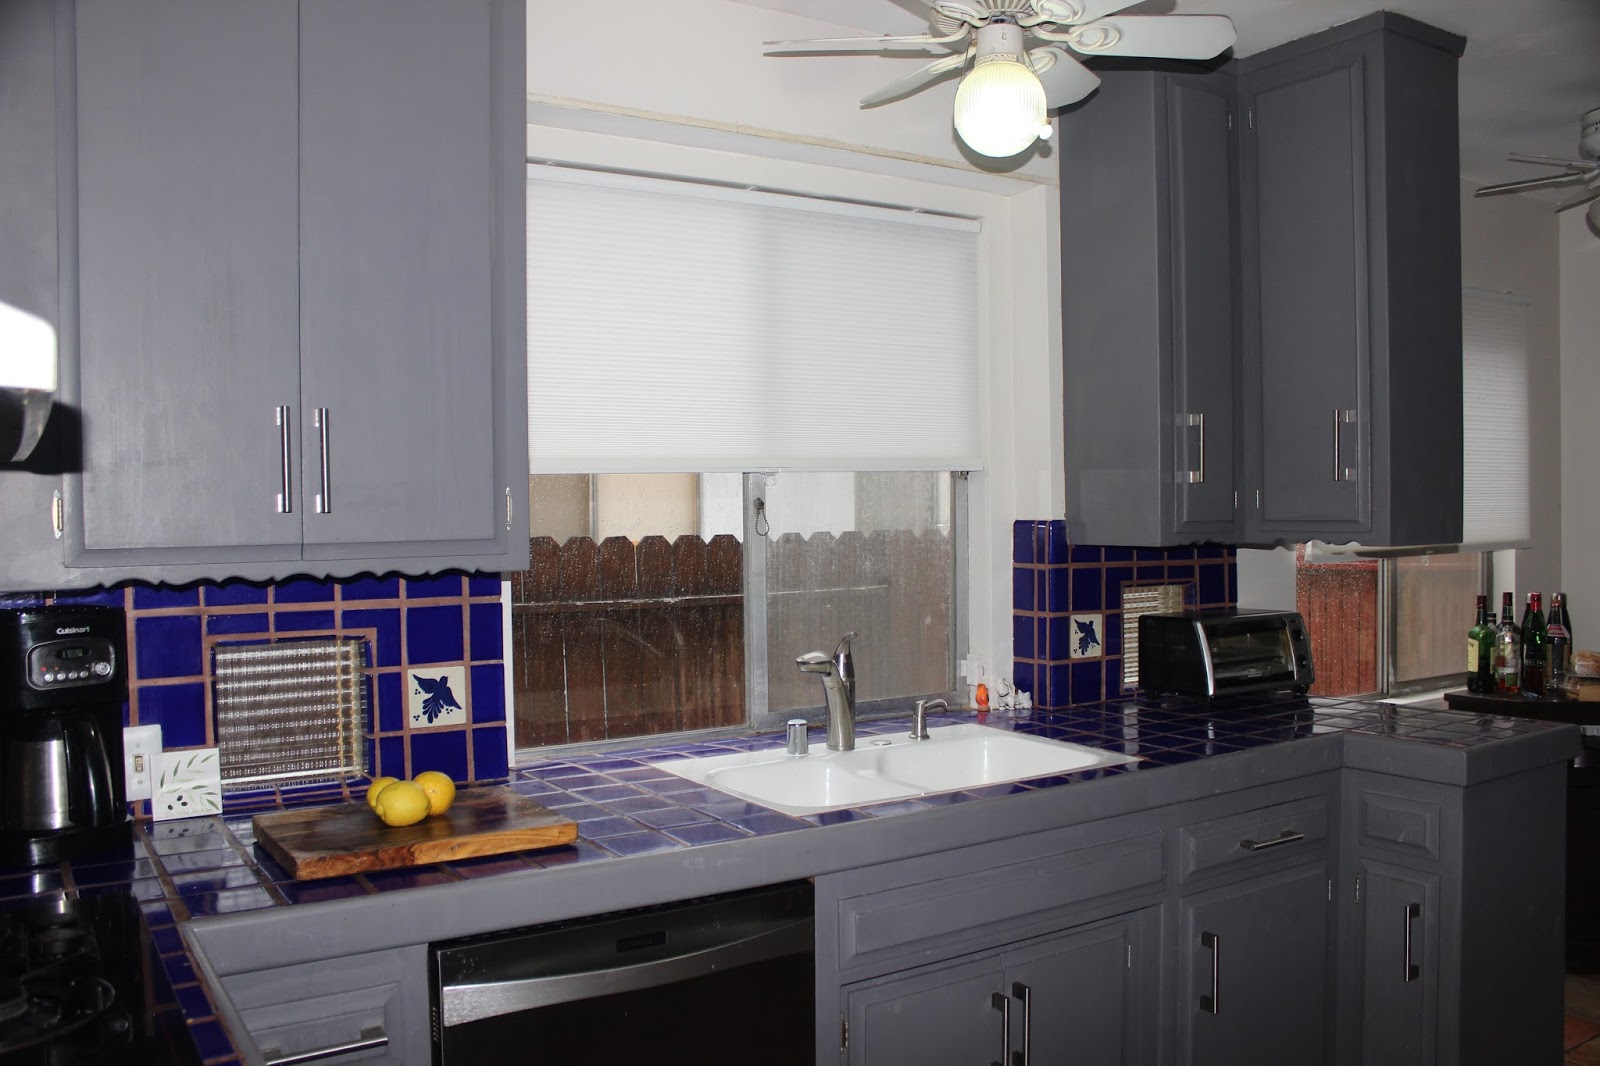
Here's a peek at some painted, handled cabinets. Proper "big reveal" pictures to come, when I have the opportunity to take them. (Besides needing to do some more work, I also need to have a clean kitchen. Impossible.)


Meanwhile, on the west side of the kitchen, I worked on the breakfast bar. It started with sanding to get rid of the pealing, sticky varnish.


When I stay sticky, I mean it was constantly tacky to the touch no matter how much I tried to clean it. See that white stuff? That is where junk mail would adhere to it when left there for too long. It was strange and gross.

It took a lot of sanding to get down to the bare wood, which turned out to be rather lovely.

Then, I applied the same stain I've used on the other wood work in the ModLodge.


Then, three coats of semi gloss polyurethane, sanding with 320 grit paper between each coat.


The result is a counter top that is soft and luxurious and I find myself running my hand over it multiple times a day for no reason.

And, here's a look at the before and after of this bar top / pantry area, with the mod lodge in the background.


Progress! And nicer, full kitchen pictures to come.

But first, a question.

Do you like the blue tile? I know it's hard to see under all the clutter. See what I mean about never having a clean enough kitchen?

I never minded the color, but it wasn't part of my grand vision. However, now that the cabinets are gray, it kind of works and could maybe even pass for intentional. Thoughts?

The alternative would be my original plan to paint them all white, which I still think would look good. But I'm worried about the durability of painted tile. Will it stain every time I spill coffee or marinara sauce (which happens daily)? I also realized that painted tile is never going to look like Caesarstone or Carrara marble. It's only ever going to look like painted tile. Just like painted old cabinets are only old cabinets that have been painted. You know?


The alternative to the alternative would be a compromise, in which I only paint the worst tiles, which are these not-at-all-cool-no-matter-how-you-look-at-them flower tiles behind the stove top. I'd probably go with a metallic silver, something to match the stainless steal. (Apologies for the poorly lit picture. It is really hard to get good lighting in these kitchen pictures.)

So what do you think? Tell me in the comments. The compromise is the best way to go, right? Or forge ahead painting everything white? Or does someone actually think I should keep the flower tiles? And if that's your opinion, please also tell me how many drinks you've had today, or how many grandkids you have, or why you're messing with me and what I ever did to you to deserve it or how you got the impression I have time for your shenanigans.

Tuesday, December 22, 2015

The Very Last Kitchen Makeover - Part 4: Sanding, Painting, and Getting Wildly Off Schedule

As mentioned, one of the benefits of using Milk Paint is that you are not required to sand the surface beforehand. In fact, the cabinet painting tutorial I was most closely following instructed to simply wipe down the surface with a deglosser, which would take only minutes.

This sounded great in theory, but I was dealing with layers of gloppy varnish. And the top layer was flaking off in big orange chunks after coming in contact with blue painters tape on previous projects.
I didn't trust this volatile surface and thought there's no way I could skip the sanding step.

I was in it for the long haul. But I was arming myself with two very important assets.

1. New power tools

2. A reasonable schedule

It would be hard to accomplish such a great amount of work when there were already so many demands on my time. To overcome this, I made a schedule that would mean working weeknights, after bedtime, on little pieces of prep work --cleaning, contact paper removal, filling holes in the wood, packing up dishes. Then, I'd take two vacation days so I could work uninterrupted while the children were at preschool and daycare as usual. By the end of those two days, I'd be basically done.

As it turns out, by the end of those two days, the kitchen still looked like this.
And that's because I couldn't do even a fraction of the work I'd planned to do leading up to those heavy lifting days. And that's because when I generated the schedule I'd mistakenly made a few assumptions:

No one needs to use the kitchen when cooking dinner
The members of our family would not take turns with a stomach bug over the course of one week
That Milo would need to sleep
That I would not need to sleep
That removing the paper liner on the shelves wouldn't take the better part of a day.

What fresh hell is this?

I really don't know how I could've tried any harder to be efficient except maybe to have never started this project in the first place. And that's not a very good thought to have. But between eager beginnings and exhausted despair, there were details. Let me share them with you.

I removed gross handles.

I removed doors.

I cleaned each, meticulously.

I sanded, using a circular sander for bigger areas.

Then coming in with a detail sander.

I learned some things along the way. For one, it isn't as easy as you might think to "lightly sand" something. Once you start, it doesn't feel like you've achieved anything unless you actually get down to the bare wood.

Also, I really underestimated how far sanding dust will travel. I'd laid down some drop cloths in the adjacent living room, but this stuff went everywhere. A full week later I was still wiping it off of surfaces in every room in the house. Literally every room. The dust rounded multiple corners and went down hallways. It's incredible.

As grumbly as I was feeling, I knew I'd start to feel better once paint actually started to go on. This happened late one night, a few days after the sanding bonanza.


Then night after night, I painted, until 1:30 or 2 am, listening to the audiobook of a YA novel I had to read for a project at work. I didn't feel tired because it never seemed like it was taking as long as it was. And not in a "time flies when you're having fun" sort of way. Like in a weird wormhole kind of way. I would paint five doors and feel like it was just taking about an hour, when really it took six. Over an hour per door? It makes no goddamn sense.

While I was lost in spacetime, the paint was busy making the squiggles less offensive.


It made this neighboring wood beam accent stand out more instead of blending into the sea of endless pine.

Because I'd gone a little overboard with sanding in some places, the wood grain became more prominent. But these details looked nice in gray.


I will say, working with this highly recommended paint, that I found it to be less forgiving than regular latex. You can really tell if you've been uneven with layers, missed a spot or tried to fill one in. So I guess my recommendation would be to paint cautiously and carefully, and not hurriedly, in a dark kitchen, in the wee hours of the morning while listening to YA fiction about teenagers making out and murdering each other.

Up next: I put the hard in hardware.

Friday, December 4, 2015

The Very Last Kitchen Makeover - Part Three: Squiggles

I didn't know what to call them, so in time they came to be known as squiggles.
I'm referring to the portions of ornamental casing on the base of several of the upper cabinets. They're a little too "country kitchen" for my design vision. I tried coming up with any likely name for them so that I could search online for ways to remove them.

No matter what combination of technical-sounding and common sense names I used, I couldn't find any posts or videos about getting them gone. This meant that either I was the first person on Earth to ever attempt such a procedure or, more likely, that it's something that couldn't or shouldn't be done.

But I wasn't about to let that stop me. One evening, in lieu of preparing dinner for myself, I stood in the kitchen sipping wine and studying the squiggles. What would happen if I just started prying them off? That method had worked out just fine with the half spindle. And I wasn't even drinking that time.

I started trying to wedge the blade of my painters tool into what I perceived the be the seam. It didn't give way and all I managed to do was chip the wood.

And break my (now empty) wine glass when I gave my prying attempt one last good heave, lost my grip, and threw the painters tool across the room.


It was then that DIY Dave texted me to show off some pictures of his newly installed kitchen cabinets and counters. I was all, "Good for you." Then, "What do I do here?" The text conversation that followed gave birth to the term squiggles, as well as a few lame solutions I won't mention. But the basic message DIY Dave tried to convey was that I couldn't remove them.

Stubbornly, I countered with pictures proving that I could. Including this one, which showed that the squiggle was a separate piece of wood that I should be able to detach from the rest of the casing.
He came back with this diagram: 

Then it finally sunk in: the squiggle, and the tension it provided, was actually holding the whole cabinet together. Remove this piece and there'd be nothing to keep the rest of the casing in place. These squiggles would have to stay and keep my cabinets firmly in the late 1960s where they belonged. Outstanding.

But there was one other set of squiggles we agreed could be eradicated without the whole kitchen collapsing (probably). The valances above the sink.


And, because he'd invested far too much time in this so far, DIY Dave offered to come over to help.

The one thing I had to determine is if I would keep the shelf with the pot and pan hooks and just lose the squiggle that was attached to it. I asked for opinions from a few people who'd been in my kitchen, and to my dismay every one of them said that the pot hooks were a handy feature. And they were right, because I really did use them for storage. But I wanted them to tell me it looked dumb and that my pots and pans were beat up and burnt and not for display. I decided to leave it as a game day decision.

Which brings us to game day. On a Saturday morning,  DIY Dave arrived at my house with every power tool. We examined the squiggle area and decided on a plan.

Step 1: Rip down the thin molding that ran in one long piece from cabinet to cabinet and across the squiggle between them. Set it aside and save it for later.


Step 2: Use a Fein multitool to slice through the squiggles, then rip them away from the sides of the cabinets where they were held on by just a couple of nails.


Quick note: I did not intentionally crop out poor DIY Dave's face at every opportunity. During this squiggle removal process, I was already being as obnoxious as humanly possible, plus stopping to take pictures of the whole thing, and I didn't want to make it even worse by asking him to pause and pose. What I actually like about this outcome is that I've inadvertently turned him into one of my favorite recurring character TV tropes: "He Who Must Not Be Seen." And now with these pics DIY Dave's gone from existing in name only like Frasier's Maris Crane to present but kind of faceless, like Wilson from Home Improvement. And I think we can all agree that's the most fitting sitcom title for this particular scene. 
Step 3: Take down the pots and pans holder the same way because, fuck it.


 Step 4: Using the sliding compound miter saw DIY Dave dragged to my house, recut the molding so it can wrap around the insides of the cabinets instead of stretching across between them. This meant the introduction of 45 degree angles and... okay I'll be honest I just let DIY Dave lead the charge while I stood there and didn't even take pictures. Here's what the saw looked like. Hope that helps.


Step 5: Rehang the molding. We used a nail gun, which was terrifying at first, and then completely thrilling.


And that's it! The whole project took an hour or so. It would've taken me all weekend to do alone with all of my experimentation and hemming and hawing.


Unfortunately I accidentally framed out the top squiggle along the ceiling when taking my before pictures, so it's a little hard to see. But, I think you are able to get the main takeaway, which is the dramatic reduction in visual clutter now that the pots and pans are gone.

Next up: the wonderful horrible world of sanding.