Tuesday, December 22, 2015

The Very Last Kitchen Makeover - Part 4: Sanding, Painting, and Getting Wildly Off Schedule

As mentioned, one of the benefits of using Milk Paint is that you are not required to sand the surface beforehand. In fact, the cabinet painting tutorial I was most closely following instructed to simply wipe down the surface with a deglosser, which would take only minutes.

This sounded great in theory, but I was dealing with layers of gloppy varnish. And the top layer was flaking off in big orange chunks after coming in contact with blue painters tape on previous projects.
I didn't trust this volatile surface and thought there's no way I could skip the sanding step.

I was in it for the long haul. But I was arming myself with two very important assets.

1. New power tools

2. A reasonable schedule

It would be hard to accomplish such a great amount of work when there were already so many demands on my time. To overcome this, I made a schedule that would mean working weeknights, after bedtime, on little pieces of prep work --cleaning, contact paper removal, filling holes in the wood, packing up dishes. Then, I'd take two vacation days so I could work uninterrupted while the children were at preschool and daycare as usual. By the end of those two days, I'd be basically done.

As it turns out, by the end of those two days, the kitchen still looked like this.
And that's because I couldn't do even a fraction of the work I'd planned to do leading up to those heavy lifting days. And that's because when I generated the schedule I'd mistakenly made a few assumptions:

No one needs to use the kitchen when cooking dinner
The members of our family would not take turns with a stomach bug over the course of one week
That Milo would need to sleep
That I would not need to sleep
That removing the paper liner on the shelves wouldn't take the better part of a day.

What fresh hell is this?

I really don't know how I could've tried any harder to be efficient except maybe to have never started this project in the first place. And that's not a very good thought to have. But between eager beginnings and exhausted despair, there were details. Let me share them with you.

I removed gross handles.

I removed doors.

I cleaned each, meticulously.

I sanded, using a circular sander for bigger areas.

Then coming in with a detail sander.

I learned some things along the way. For one, it isn't as easy as you might think to "lightly sand" something. Once you start, it doesn't feel like you've achieved anything unless you actually get down to the bare wood.

Also, I really underestimated how far sanding dust will travel. I'd laid down some drop cloths in the adjacent living room, but this stuff went everywhere. A full week later I was still wiping it off of surfaces in every room in the house. Literally every room. The dust rounded multiple corners and went down hallways. It's incredible.

As grumbly as I was feeling, I knew I'd start to feel better once paint actually started to go on. This happened late one night, a few days after the sanding bonanza.


Then night after night, I painted, until 1:30 or 2 am, listening to the audiobook of a YA novel I had to read for a project at work. I didn't feel tired because it never seemed like it was taking as long as it was. And not in a "time flies when you're having fun" sort of way. Like in a weird wormhole kind of way. I would paint five doors and feel like it was just taking about an hour, when really it took six. Over an hour per door? It makes no goddamn sense.

While I was lost in spacetime, the paint was busy making the squiggles less offensive.


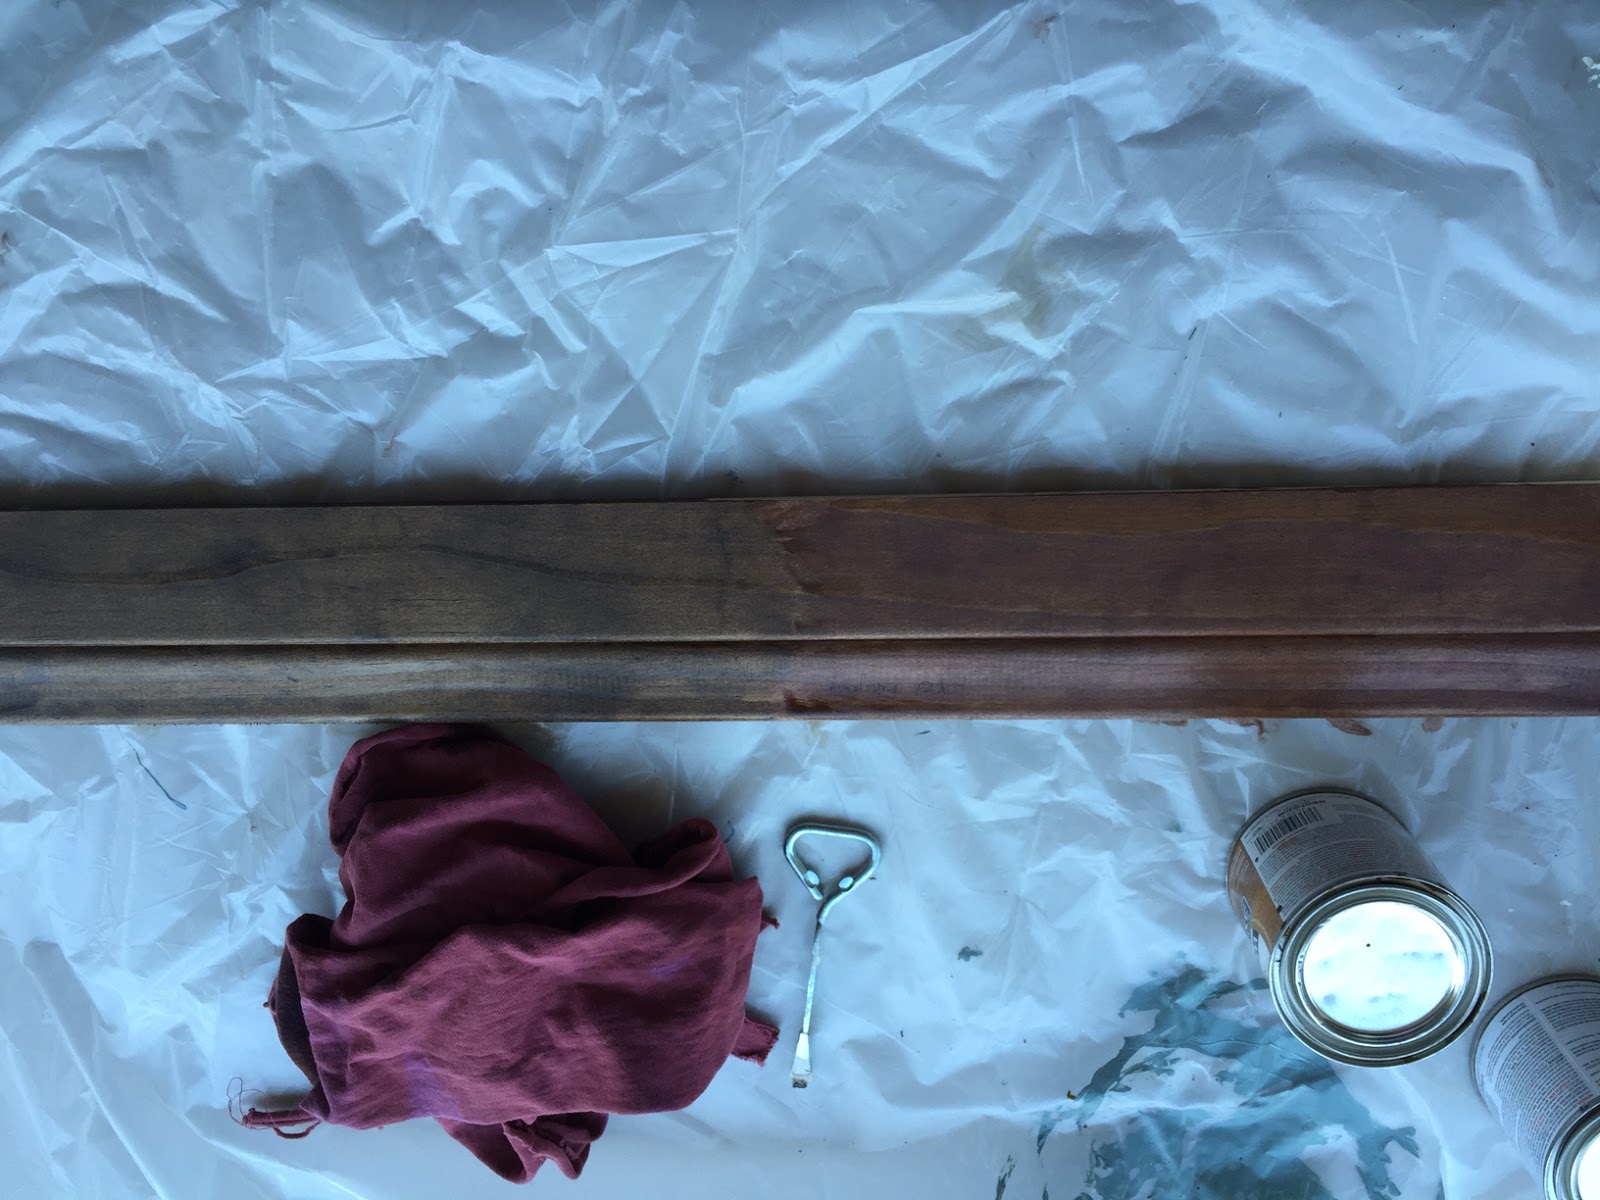
It made this neighboring wood beam accent stand out more instead of blending into the sea of endless pine.

Because I'd gone a little overboard with sanding in some places, the wood grain became more prominent. But these details looked nice in gray.


I will say, working with this highly recommended paint, that I found it to be less forgiving than regular latex. You can really tell if you've been uneven with layers, missed a spot or tried to fill one in. So I guess my recommendation would be to paint cautiously and carefully, and not hurriedly, in a dark kitchen, in the wee hours of the morning while listening to YA fiction about teenagers making out and murdering each other.

Up next: I put the hard in hardware.

Friday, December 4, 2015

The Very Last Kitchen Makeover - Part Three: Squiggles

I didn't know what to call them, so in time they came to be known as squiggles.
I'm referring to the portions of ornamental casing on the base of several of the upper cabinets. They're a little too "country kitchen" for my design vision. I tried coming up with any likely name for them so that I could search online for ways to remove them.

No matter what combination of technical-sounding and common sense names I used, I couldn't find any posts or videos about getting them gone. This meant that either I was the first person on Earth to ever attempt such a procedure or, more likely, that it's something that couldn't or shouldn't be done.

But I wasn't about to let that stop me. One evening, in lieu of preparing dinner for myself, I stood in the kitchen sipping wine and studying the squiggles. What would happen if I just started prying them off? That method had worked out just fine with the half spindle. And I wasn't even drinking that time.

I started trying to wedge the blade of my painters tool into what I perceived the be the seam. It didn't give way and all I managed to do was chip the wood.

And break my (now empty) wine glass when I gave my prying attempt one last good heave, lost my grip, and threw the painters tool across the room.


It was then that DIY Dave texted me to show off some pictures of his newly installed kitchen cabinets and counters. I was all, "Good for you." Then, "What do I do here?" The text conversation that followed gave birth to the term squiggles, as well as a few lame solutions I won't mention. But the basic message DIY Dave tried to convey was that I couldn't remove them.

Stubbornly, I countered with pictures proving that I could. Including this one, which showed that the squiggle was a separate piece of wood that I should be able to detach from the rest of the casing.
He came back with this diagram: 

Then it finally sunk in: the squiggle, and the tension it provided, was actually holding the whole cabinet together. Remove this piece and there'd be nothing to keep the rest of the casing in place. These squiggles would have to stay and keep my cabinets firmly in the late 1960s where they belonged. Outstanding.

But there was one other set of squiggles we agreed could be eradicated without the whole kitchen collapsing (probably). The valances above the sink.


And, because he'd invested far too much time in this so far, DIY Dave offered to come over to help.

The one thing I had to determine is if I would keep the shelf with the pot and pan hooks and just lose the squiggle that was attached to it. I asked for opinions from a few people who'd been in my kitchen, and to my dismay every one of them said that the pot hooks were a handy feature. And they were right, because I really did use them for storage. But I wanted them to tell me it looked dumb and that my pots and pans were beat up and burnt and not for display. I decided to leave it as a game day decision.

Which brings us to game day. On a Saturday morning,  DIY Dave arrived at my house with every power tool. We examined the squiggle area and decided on a plan.

Step 1: Rip down the thin molding that ran in one long piece from cabinet to cabinet and across the squiggle between them. Set it aside and save it for later.


Step 2: Use a Fein multitool to slice through the squiggles, then rip them away from the sides of the cabinets where they were held on by just a couple of nails.


Quick note: I did not intentionally crop out poor DIY Dave's face at every opportunity. During this squiggle removal process, I was already being as obnoxious as humanly possible, plus stopping to take pictures of the whole thing, and I didn't want to make it even worse by asking him to pause and pose. What I actually like about this outcome is that I've inadvertently turned him into one of my favorite recurring character TV tropes: "He Who Must Not Be Seen." And now with these pics DIY Dave's gone from existing in name only like Frasier's Maris Crane to present but kind of faceless, like Wilson from Home Improvement. And I think we can all agree that's the most fitting sitcom title for this particular scene. 
Step 3: Take down the pots and pans holder the same way because, fuck it.


 Step 4: Using the sliding compound miter saw DIY Dave dragged to my house, recut the molding so it can wrap around the insides of the cabinets instead of stretching across between them. This meant the introduction of 45 degree angles and... okay I'll be honest I just let DIY Dave lead the charge while I stood there and didn't even take pictures. Here's what the saw looked like. Hope that helps.


Step 5: Rehang the molding. We used a nail gun, which was terrifying at first, and then completely thrilling.


And that's it! The whole project took an hour or so. It would've taken me all weekend to do alone with all of my experimentation and hemming and hawing.


Unfortunately I accidentally framed out the top squiggle along the ceiling when taking my before pictures, so it's a little hard to see. But, I think you are able to get the main takeaway, which is the dramatic reduction in visual clutter now that the pots and pans are gone.

Next up: the wonderful horrible world of sanding.


Tuesday, November 24, 2015

The Very Last Kitchen Makeover - Part Two: Testing

I wasn't kidding myself. I knew this was a tremendous undertaking, being undertook by a crazy woman with little to no free time and a 1-year-old, stage 5 clinger on her hip at every waking moment. The only way I thought I had hope of completing this in the calendar year would be with very careful planning, and that meant minimizing potential for nasty surprises. So before the official official kickoff, I would spend time testing all of my ideas to find out the best way to pull this off.

First, the paint. Before I decided on General Finishes Milk Paint, I was actually planning to use Annie Sloan Chalk Paint, mostly because people seem to go gaga bananas for it. But I ruled it out for two reasons:
1. They only offer one shade of gray and it's too pale for this project.  Custom mixing is an option but you basically have to do it all at once and if you go back for seconds you can't guarantee the same results. And I've learned I am terrible at estimating how much paint I'll need. 
2. The stores that sell it, or "stockists" (eye roll), are inconveniently dotted around the city and I don't have the time or inclination to spend a half day picking it up.

The milk paint line, on the other hand, had three choices for Gray.

You'd think I'd want more options but sometimes limitations can be freeing. Driftwood it is.


And it can be ordered on my beloved Amazon Prime. So, suck it, local businesses.

Testing out the paint, I brushed a little of it onto the inside of a cabinet door. It was basically the shade of gray I'd been picturing for this.
The paint splotch dried within minutes, and didn't scratch or smudge. And there were no noticeable brush strokes. So far, it seemed to be living up to its reputation. Although if it wasn't I probably would've stuck with it anyway because it was $22 just for this first tester pint. That's the part I may have neglected to mention. This paint is expensive as hell.

Because of the price tag and the plenitude of surfaces I had to cover, I thought it might be smart to opt for a lesser paint for the inside of the cabinets. 

Then I had the brilliant idea to buy spray paint to do this part of the job. With all those hard to reach angles, up high, down low, in deep dark corners of the cabinets, perhaps this would be a way to simplify. I picked up a can of the closest spray paint color I could find, and tried it out on one of the shelves.

As I sprayed into the cabinet, my head was instantly enveloped in a visible cloud, my throat started burning and I felt sick. I'm not sure why I thought blasting paint into an enclosed space was going to result in any other outcome, but suffice to say this was not going to be a workable plan. See why I wanted a testing phase?

Back at Home Depot the next day, I picked up a gallon of flat latex paint, custom color mixed to my Driftwood milk paint.
For those of you who don't know, you can bring basically anything-- a fabric, some object -- to the paint counter and they'll zap it with lasers, take a reading, and use it to make a color match. In my case, I blobbed some of the milk paint onto a paper plate and used that.

Testing it out at home, it revealed itself to be a perfect match. I was back on track.

Next up, I had to find the best way to clean these bad boys. They were covered in spots, spills and sludge. And it was important to get them as clean as possible because deeply embedded grease can slowly rise to the surface over time, staining nice new paint.

Pinterest provided a bevy of suggestions and recipes for the best cleaning solution. Many contained the usual suspects: baking soda, dish soap, vinegar. New to the mix was 20 Mule Team Borax which has an amazing name that sounds like it is going to clean through sheer determination.


I tried out many different combinations. Baking soda didn't seem to do anything. Dish soap was a pain to rinse off. Vinegar smelled, of course, but wasn't making a noticeable dent in the solid grime. The Borax was really gritty, which was great for scrubbing, but then the grit wouldn't go away. I'd rinse an area clean, then glance back at it only to find it repopulated with more little grits. After ONE FULL HOUR I'd managed to clean 2 shelves. These home cooked recipes were adorable Pinterest fodder, but they weren't going to cut it.

Bring in the toxic chemicals!

Introducing Trisodium Phosphate, or TSP.  I'd never used this before but the warnings on the packaging were intense.

Testing it out on the cabinets, I was expecting it to fizz or emit orange smoke or something satisfying like that. It did no such thing, but it did clean things up significantly in minutes, proving that it's not about the product with the best name. It's about the product that is so badass its name is just a chemical compound.


Now all I had to do was empty out all of the cabinets, spread their contents all over the entire house, inconvenience everyone indefinitely, and get to cleaning!

Wednesday, November 18, 2015

The Very Last Kitchen Makeover- Part One: Research and Development

It began like many an overly ambitious DIY misadventure, with a trip and fall down a Pinterest rabbit hole. Back in January, I was attempting to pin my way out of the ModLodge wallpaper fiasco and before I knew what was happening, I was creating a "Kitchen" board and filling it with terrible ideas like "How to pour concrete countertops over existing tile." I mean... Could you even imagine?

Thankfully I could only wander so far because back in the real world, I had a living room to put back together. But without a doubt, there was a little spark, a precocious little voice saying, "Well, maybe, just maybe..."

The last work I'd done on the kitchen involved wallpaper removal and a fresh coat of paint on the woebegone walls and ceiling. Nothing revolutionary, but it went a long way. Or, as long of a way as I thought possible without calling in the contractors and tapping into the hefty nest egg we've set aside for home renovations and which doesn't exist.

Also,  I didn't hate the kitchen. Sure it had gross old cabinets, but as I've said before, so has practically every place I've ever lived, so I'd be lost without them. The countertop tiles wouldn't be my pick, but at least they were a pleasant shade of blue.

It may not have been the E.T kitchen of my dreams, but it was, I don't know... Home Alone? I could live with that. 

Then a funny thing happened. Our fridge died suddenly one day. The next day, so did our dishwasher. I was glad to see them go, happy to see them replaced by gleaming, silent, energy efficient, spacious, not-all-weird-smelling new ones. They were glorious. And wedged between the ancient artifacts we called cabinets, they looked tragically out of place.


Aaaaand now I hated the kitchen.

But what was I supposed to do? Since Pinterest got me into this mess, I returned to see if it could get me out of it. I set about free form pinning until a pattern emerged.


Gray cabinets.

Ok. Yes. I could do this. Painting cabinets wasn't new to me. It's time consuming, but the results are dramatic and (unless everything goes wrong) very satisfying.

I wanted to make sure this particular paint job would be durable, so I combed Pinterest, taking in every opinion and tutorial until I found one blog post by Designer Trapped In A Lawyer's Body that just made sense to me. You can read the full post here, but to summarize, this blogger painted her kitchen cabinets using Milk Paint from General Finishes.


I had never heard of Milk Paint and didn't know what makes it different from regular latex paint (I still don't, to be honest) nor had I heard of General Finishes, but I liked their branding. Or lackthereof. It was industrial, professional grade, no frills. As if their slogan would be "We make paint." If I'm being smart, that probably is their branding, to appeal to dumbies like me who think using a serious paint with an eagle on it is going to somehow reduce the likelihood of making silly mistakes. The realistic advantage of using this type of paint is that you don't need to sand or prime, it dries exponentially faster than latex paint, shows virtually no brush strokes, and is very resilient. Sure. Sold.

With the paint plan in place, I came back to the tougher question to answer. What was I going to do about these counters?
 If spending money wasn't an option, and it truly, almost hilariously wasn't, this left me with 3 ways out.

1. Some kind of cheap replacement like Ikea butcher block countertops. I found a few DIY bloggers who'd successfully installed these on their own, but it seemed like an awfully high risk undertaking. It was unlikely I'd be able to remove the existing counters without destroying the cabinet frames underneath. And even if I did, the idea of cutting out holes for the sink and faucet made me feel like I was going to pass out.
2. Learn to love the tiles as they were. But where's the fun in that?
3. Paint the tiles.

People say mixed things about painting tiles, so to try to learn more I poked around on YouTube, finding tutorials made almost exclusively by Australians (what's going on with the tiles down under?) and pinned a couple of blog posts about it. But I was still hesitant, until DIY Dave sent me a link to tile painting from This Old House. "Fine," I thought, "if This Old House would do it, then it must be legit." 

So there you have it. Painting and lots of it. A game plan for what would be the last makeover this kitchen would ever, could ever, receive. I knew it would be a lot of work. But I had no idea just how much until I was in too deep.

Wednesday, November 4, 2015

Lost and Found

A new project is underway in the kitchen and boy is it a doozy! Plenty of coverage will be coming your way, but in the meantime I wanted to take this opportunity to share with you some life changing wisdom: if you lose an object, don't worry because it'll turn up.

You've probably heard this on many occasions, offered by some well-meaning person in close proximity to you while you tear apart your house, car, or purse, practically foaming at the mouth as you look for whatever's slipped into that weird dimension where things go when they're missing. You'll hear that useless combination of words, "don't worry, it'll turn up," and answer with the only polite response there is: "Yeah, I know." But what you really mean is, "Shut up and help me!"

Because from the outside, you look like you just need to chill out, while inside you're struggling with the unfairness of it all. "It was right here a minute ago. Right fucking here. And now it's just gone!"

And while the other members of your search party will offer their time, energy, and helpful suggestions, you will resent them because you know there's no way they care about the misplaced object as much as you do.

You will say things like:

"Did you move it? Because I deliberately put it here so it didn't get lost and now it's gone and I didn't move it."

"Someone must've stolen it."

"Maybe it got thrown in the trash." (Always it comes to this, but when has this ever been the answer?)

And, when it comes to missing remote controls, "Stand up. You're probably sitting on it."

In short, when you lose something, you become this and you know it.


If you haven't caught on yet, I'm writing "you" while meaning "me." But also, you. We're in this together. So why am I attempting to placate you by telling you that in times like these you only need remember that things always turn up? Because lately I've discovered that it's completely, almost miraculously true.

These days, I've had a lot of practice misplacing things. Daily. Hourly. Everything. Always. I'm typically doing three things at once, while mentally preoccupied with a fourth or fifth task. But no one thing is being done well, least of all, holding onto something I've picked up. I set things down everywhere without realizing it. Or sometimes I put things in special places where they won't get lost but fail to note the location of that special place. And then there's the general messiness that surrounds me.

So when I'm rushing around, usually in the mornings before work, I will inevitably reach the point where I can't find my keys, my glasses, or one or both of Oscar's sneakers. I get riled up, grumpy, quicken my pace as I stomp through the house looking in all of the usual spots. Then I'll get distracted by some other pressing matter, put my search on hold to attend to it for a moment, and POOF the sneaker materializes on the arm of the chair. Like magic. I'll pick up Milo's lunch box and POOF my keys are underneath. I'll decide to put in my contacts instead of wearing my glasses, and POOF, the glasses show up in the bathroom drawer that I open to grab contacts.

The more I took note of this phenomenon, I started putting it to work, consciously telling myself the one thing that no one wants to hear when they are looking for a lost item, "Don't worry. It will turn up." And then always, it would. Often within minutes. Though sometimes it takes a little bit longer.

Months ago I somehow lost one earring from one of my favorite pairs. I loved them because they were the sort of pair you could combine with any old outfit to make a statement. That statement being something like, "See? I tried." And the only thing worse than having one of the earrings go missing is that I had no idea when or how the pair had been separated.  One morning, I could only find one in the bathroom drawer where I often threw them. I took everything out of that drawer and looked around. I went into the bedroom and searched on the dresser where I'm supposed to keep all of my jewelry and it didn't turn up there either. I felt myself getting riled up, but instead I told myself it will turn up.

But it didn't. A few weeks went by and I looked around in the usual places once again, this time also checking purse pockets and my underwear drawer, in case it had somehow fallen in there. More time passed. Then on Monday morning, I opened the drawer to my nightstand to see if I had any thank you cards left from an old box of stationary. As luck would have it, I had one card left, and stuck to that card... my missing earring. I literally said out loud, "My earring!"

And that did it for me, confirming what I'd come to believe is a law of physics, or nature or Murphy or whatever you want to call it. You don't find things, things find you. With all you have on your plate, with all of the lifehacks on your Pinterest that you'll never put to practice, with the Holidays approaching and ready to compromise your sanity, here's one simple thing you can do. Stop looking. I'm telling you this now because you need to hear it. And if I tried to tell you while you were looking for your iPhone you'd probably bite my head off.

Friday, October 16, 2015

This Stupid Doorway Part 2

If you're just joining us, here's what you missed in part one:
- Demolition
- Complaints
- Shopping
- Emotional turmoil
- General grumpiness

And basically, I managed to get my hands on all the pine boards and casing I'd need to construct the doorway of my dreams.

First up, I'd need to stain everything. At some point during the lull in production since February, I had managed to test out some stain options on a spare board.
Starting from the bottom in this picture, we have Golden Oak, which was a nice color but too light (it is actually lighter in person). Then Walnut, which matches the house's orange glow finish we're trying to avoid. Next up is Red Mahogany, which showed promise. Then at the top, I thought I'd give English Chestnut another chance. While it had turned out to be too dark when applied to the window frame, it wasn't actually a bad color. When we tried it on the test board, it turned out to be a different shade than the window frame. It's magical, I tell ya.

I was leaning toward the Mahogany up until the morning I was set to stain. Then I had a change of heart, drawn to the English Chestnut.  It was clean and modern, nicely highlighting the wood grain. It looked natural. The Mahogany was purple and cheesy.


We lined up all the wood on a table outside and got to work.


Before applying stain, I rubbed down the boards with Minwax Pre-Stain, which is supposed to encourage even staining and prevent marbling on soft, absorbent woods like pine.  It was an easy enough step that did no such thing, as the stained boards turned out uneven and marbled.

Also, they were neither the color of the window frame, nor the test board, but a completely original third version of English Chestnut. But whatever. 

Casing
Once the wood dried it was time to start hanging, a task I went into with zero confidence. But I immediately felt more at ease when all of the pieces fit perfectly into place, thanks to my careful measuring and, more importantly, Tino's precise cutting.


We attached them to the frame using finishing screws, following the recommendation of DIY Dave. All of my research instructed me to use finishing nails. But finishing nails are meant to be used with a nail gun, and the nail gun I intended to borrow from our friends turned out to require, as all nail guns do, an air compressor the size and shape of an Airstream trailer. Meanwhile, finishing screws require a plain old screw gun, a power tool I already knew how to manage

I used too many screws, but in the end, I had the whole door jamb hung. Taking no time to celebrate, I moved on to hanging the casing. This is where things went wrong. The screws wouldn't go all the way through in seemingly random places, but then they also wouldn't retreat out of the holes when I determined I needed to start over, so I'd wind up ripping everything down, banging the screws out backward with a hammer, and making a bunch of excess holes. This happened twice and I gave up for the night. Then I resumed work the following evening after work, only to have it happen again.

Finally, I realized that this stubborn screw occurrence wasn't random at all. The screws only went through when they were grabbing onto the wood frame, rather than the plaster wall alongside it. Uh duh.  These plaster walls have been a nuisance at every turn, and I should've known these itty bitty screws would never be able to break through.


Once I reached that conclusion, I made sure to drill only into the wood frame and I rather quickly hung the casing on both sides of the doorway, in both the hallway and the ModLodge.


However, when it came time to hang the top pieces, I found that my "just drill into the wood frame" plan only worked if there was a wood frame to drill into. But what was I supposed to do when all I had was a hot mess of busted plaster and exposed... chicken wire?


Against my better judgement, I first tried to use nails, just to see if I'd have any luck. The nails went in okay, but then using only the slightest force, I could take the casing back off, bringing hefty chunks of plaster down with it.

If only there was another way to go about this....

Of course! Glue! Wait, no that doesn't sound technical enough... Adhesive! Yes!

That weekend I went to the store to pick up some Liquid Nails. I applied a generous helping on each top piece, hung them, and held them in place with blue painters tape while the adhesive cured for 24 hours.


Success!

By the way, I really wish I'd just hung everything with Liquid Nails. It may or may not have been a valid process, but it would have been faster and not left behind so many pesky holes.


To take care of these bad boys, I grabbed a tube of stainable wood filler, and set to work transforming the unsightly holes into unsightly spots.


I waited for it to dry, then used a q-tip to apply several coats of stain to the spots until they about matched the rest of the wood.


Certainly not perfect camouflage, but far less noticeable.

Total project time from start to finish: 8 months
Total project time since reactivation: 4 weeks
Total actual productive project time: probably 3 hours (and counting)

What's with the "and counting"? Well I still need to seal the deal by applying a few coats of Polyurethane, but that should be straightforward and uneventful, though if something does go awry I'm giving up and setting fire to the house.

For all intents and purposes, this is done!

  Looks cozy, modern, helped along by the softer paint color.


Yes maybe it's crooked in a couple of places, and there may be some gaps, and the stain is uneven, and the 3/8" reveal is more like a 1/2" reveal in some places or 2/8" in others, and this doorway still matches nothing else in the house...But deep breath, big picture, it ain't half bad. I might be turning this into a metaphor for life again. In this case, I'll take it.