
- Demolition
- Complaints
- Shopping
- Emotional turmoil
- General grumpiness
And basically, I managed to get my hands on all the pine boards and casing I'd need to construct the doorway of my dreams.
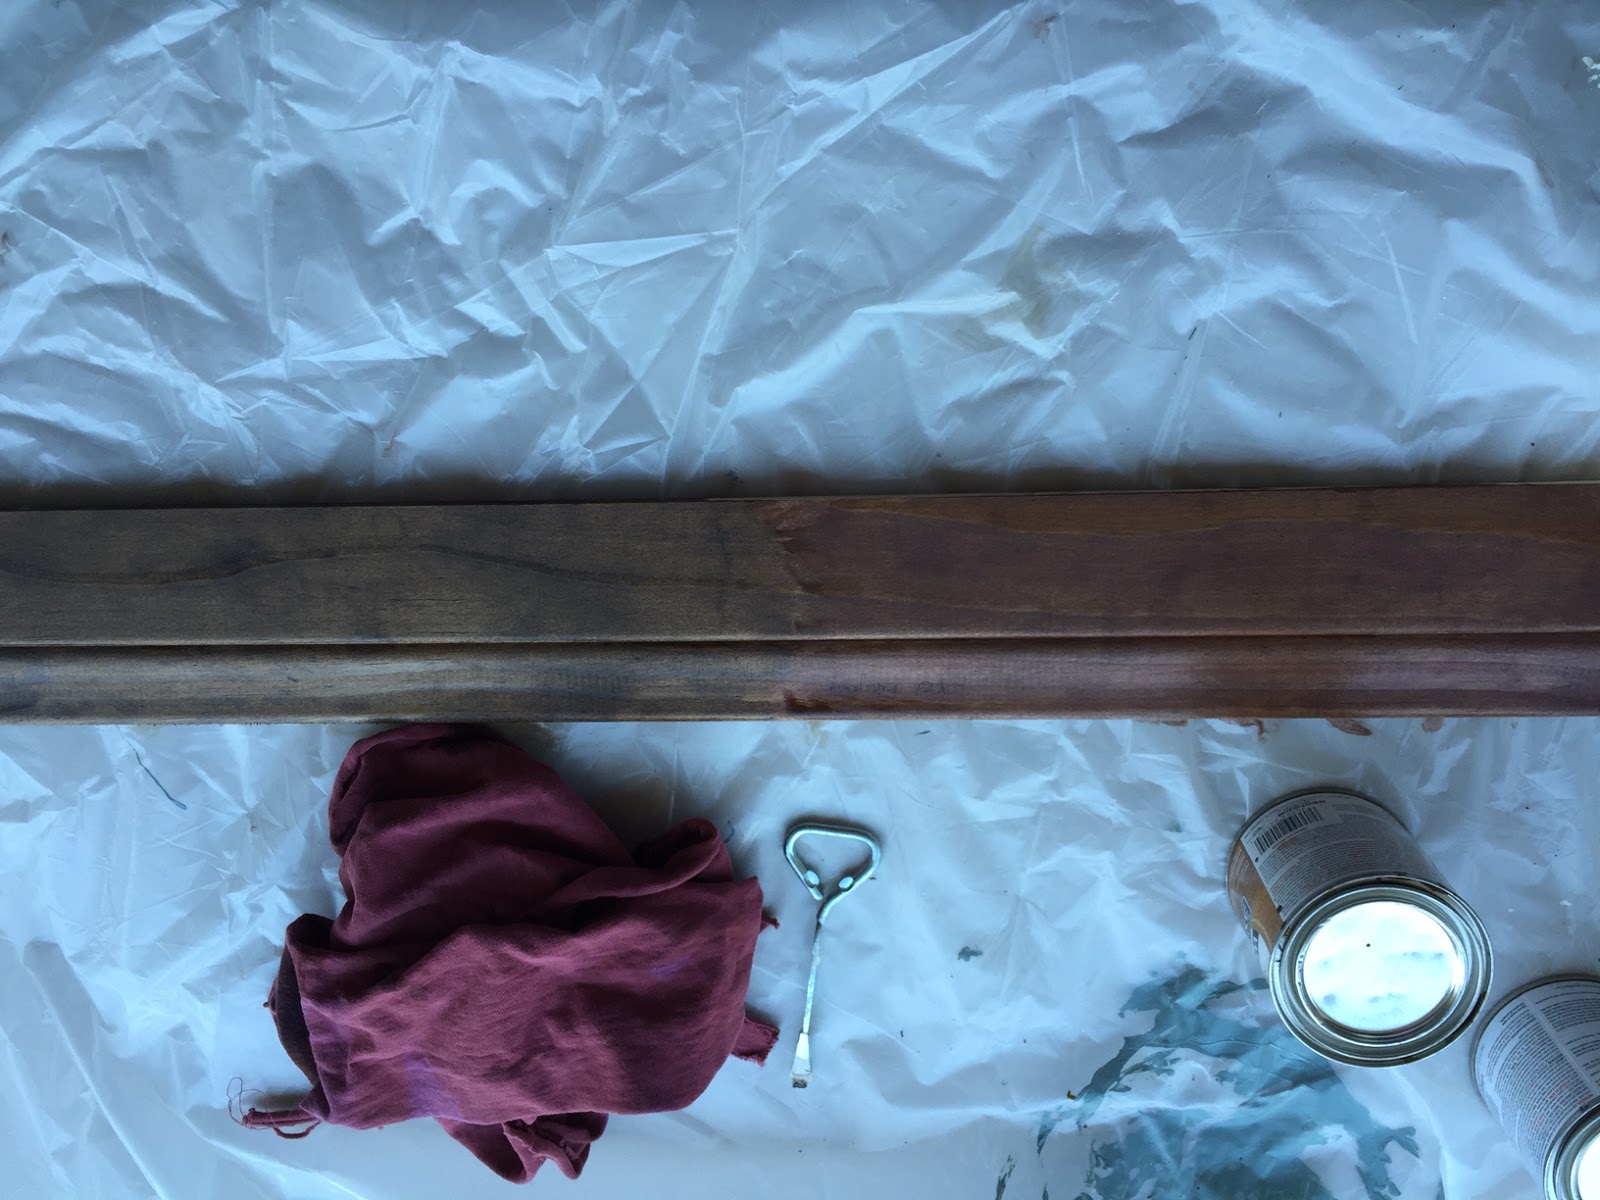
First up, I'd need to stain everything. At some point during the lull in production since February, I had managed to test out some stain options on a spare board.

I was leaning toward the Mahogany up until the morning I was set to stain. Then I had a change of heart, drawn to the English Chestnut. It was clean and modern, nicely highlighting the wood grain. It looked natural. The Mahogany was purple and cheesy.
We lined up all the wood on a table outside and got to work.

Before applying stain, I rubbed down the boards with Minwax Pre-Stain, which is supposed to encourage even staining and prevent marbling on soft, absorbent woods like pine. It was an easy enough step that did no such thing, as the stained boards turned out uneven and marbled.
Also, they were neither the color of the window frame, nor the test board, but a completely original third version of English Chestnut. But whatever.
 |
| Casing |

We attached them to the frame using finishing screws, following the recommendation of DIY Dave. All of my research instructed me to use finishing nails. But finishing nails are meant to be used with a nail gun, and the nail gun I intended to borrow from our friends turned out to require, as all nail guns do, an air compressor the size and shape of an Airstream trailer. Meanwhile, finishing screws require a plain old screw gun, a power tool I already knew how to manage

Finally, I realized that this stubborn screw occurrence wasn't random at all. The screws only went through when they were grabbing onto the wood frame, rather than the plaster wall alongside it. Uh duh. These plaster walls have been a nuisance at every turn, and I should've known these itty bitty screws would never be able to break through.

Once I reached that conclusion, I made sure to drill only into the wood frame and I rather quickly hung the casing on both sides of the doorway, in both the hallway and the ModLodge.

However, when it came time to hang the top pieces, I found that my "just drill into the wood frame" plan only worked if there was a wood frame to drill into. But what was I supposed to do when all I had was a hot mess of busted plaster and exposed... chicken wire?

Against my better judgement, I first tried to use nails, just to see if I'd have any luck. The nails went in okay, but then using only the slightest force, I could take the casing back off, bringing hefty chunks of plaster down with it.
If only there was another way to go about this....
Of course! Glue! Wait, no that doesn't sound technical enough... Adhesive! Yes!
That weekend I went to the store to pick up some Liquid Nails. I applied a generous helping on each top piece, hung them, and held them in place with blue painters tape while the adhesive cured for 24 hours.

Success!
By the way, I really wish I'd just hung everything with Liquid Nails. It may or may not have been a valid process, but it would have been faster and not left behind so many pesky holes.

To take care of these bad boys, I grabbed a tube of stainable wood filler, and set to work transforming the unsightly holes into unsightly spots.

I waited for it to dry, then used a q-tip to apply several coats of stain to the spots until they about matched the rest of the wood.

Certainly not perfect camouflage, but far less noticeable.
Total project time from start to finish: 8 months
Total project time since reactivation: 4 weeks
Total actual productive project time: probably 3 hours (and counting)
What's with the "and counting"? Well I still need to seal the deal by applying a few coats of Polyurethane, but that should be straightforward and uneventful, though if something does go awry I'm giving up and setting fire to the house.
For all intents and purposes, this is done!


Yes maybe it's crooked in a couple of places, and there may be some gaps, and the stain is uneven, and the 3/8" reveal is more like a 1/2" reveal in some places or 2/8" in others, and this doorway still matches nothing else in the house...But deep breath, big picture, it ain't half bad. I might be turning this into a metaphor for life again. In this case, I'll take it.

No comments:
Post a Comment